# Creating a Sports Card with SprintRay Crimson Red Resin
## Introduction
[3] Alright. So here we have our sports card. We printed out a SprintRay crimson red, beautiful color. I'm gonna go ahead and pop it off of the build plate. Just be really careful here. Use a razor blade. It's a little difficult to get off of the build plate because it's a little stretchy material. [15] So you just wanna work at it from all corners all the way around and yep. And it should start to pop free.
## Cleaning and Preparing the Print
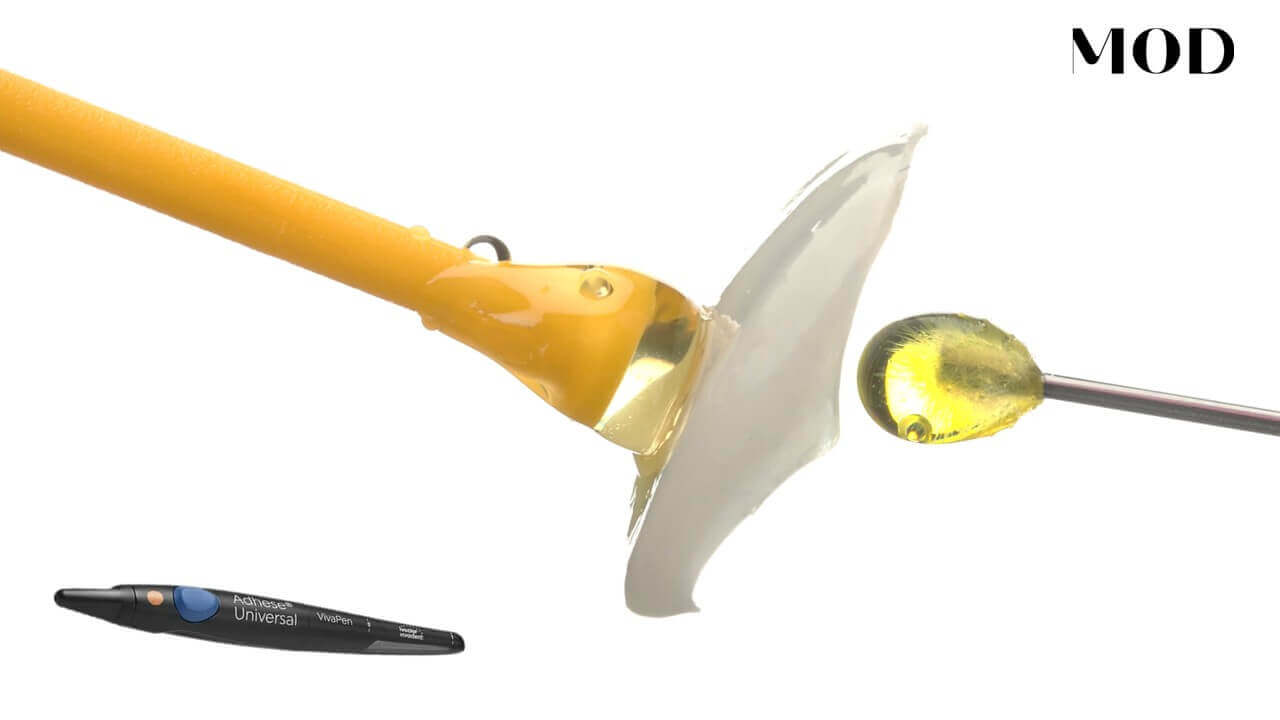
[31] Take it, and it's gonna be filled with resin. Let me get my little trusty wash base in here. You could plop it into your wash unit if you want. It's not that serious. I'm gonna go ahead and just spray mine down right here. [44] I'm gonna go ahead and get my little pump bottle. This is a honestly got this bad boy on Amazon. You pump it up, turns into a cannon. You really wanna focus on the fitting surface.
[64] You might say, well, what are the advantages of this? Well, minimum alcohol contact time tends to lead to better mechanical properties of anything that you print. So I'm gonna go ahead and spray it once and then air dry it using my wolf box. [90] Look at that bad boy. Things like a tornado. Really focus on the fitting surface. And repeat the process a few times. You might need to do it three times, four times, just until you see that you have no pooled resin on the fitting surfaces.
## Detailing the Print
[124] Just about a ten, fifteen second spray with the alcohol each time and then a ten, fifteen second dry. Alright. So so we've sprayed it and washed it a few times, dried it. And what you're looking for is no pooled resin in any of your surfaces. They should be clean of any liquid. [144] So now what do we do? Well, you remember in the design when I taught you guys how to design this bad boy, we cut a lion on the facial. So we gotta do our lion before I cut my supports off. I wanna do my lion.
[157] So let me see. I'm gonna go flow in some contrasting color resin. I'm gonna use white. I got some white Empress Direct resin, but you would probably wanna use the contrasting color of the bike card resin. [164] So, like, for example, they make a blue, as well. I'm just gonna go ahead and unscrew the cap so I could get a plethora of white. I'm just gonna oh, yeah. Yeah. That's one way to do it.
## Adding Details
[190] Get a little brush. Just work it into all the little grooves. This has intricate little details including, like, a little mouse mouth and, like, little tail. Watch this. This is gonna this is gonna blow your mind. [205] You take a gloved hand and you just wipe. Let me see. Do it so I could see it. You wipe the excess resin. Let me just fill in a little void I got right there.
[226] Clean gloved hand and gently wipe. And this would you could you'll start to see small little details emerge like the mouth, the tail. And just you could use something else. I I don't know why I'm just using my club hand because that's what I've always done. [239] Because I usually don't have anything else. And then on the feet area down here where you get into these supports, I'm just gonna use a brush and wipe away the excess down here by his little feet and tail.
## Final Touches
[260] You should start to see, like, a little lion emerge from the chaos. Obviously, you could play around with, you know, team colors and things like that. Let me just make sure. That looks pretty good. [289] You and when we finish this, we could put a layer of kinda resin on top. So you could see the feet, you could see the little mouth, if you look really closely. Now you you could also cut names into these things.
[306] Just get like a tiny bit more resin right here. Just getting paranoid now. You guys are all judging me. You just kinda tap it. It'll self level. [339] K. There's my sweet, sweet looking little lion guy, and I'm gonna go ahead and zap that. I'm gonna use just a standard composite curing light that you would use chairside.
## Curing and Removing Supports
[360] And then you're gonna cure it with the support still on so that it doesn't what the supports and the raft is doing is when you cure it and you're using high heat, it's preventing, a lot of distortion. [376] Okay. So, if you you could turn the supports now, it's certainly gonna be easier. But then when you cure it, you might get some distortion.
[387] Alright. So this is our magnificent, beautiful looking lion. The reason why we cure it with the supports on is because it's quite flexible. It's like rubber. [396] And if you cure it if you if you take the supports off now, it's certainly gonna be easier to remove the supports, but they could just melt and deform in the curing unit. So we like to use them as kind of just a a way to keep the accuracy of the cross arch, dimensions here and cure it with the supports on and then cut them off after. So that's what we're gonna do.
## Final Steps
[419] Okay. We just got our sports guard out of the oven. You wanna make sure it's fully cured before you start to to remove the supports. Remember, we cured it with the supports on so that we could make sure that we didn't distort the sports guard. [433] And, what we're gonna use to remove the supports are some good old flash and flush cutters. These guys are these little hummingbird beak instruments that are super, kind of sharp and they pinch the supports off. So all I'm gonna do is come in here and just really start working out these supports.
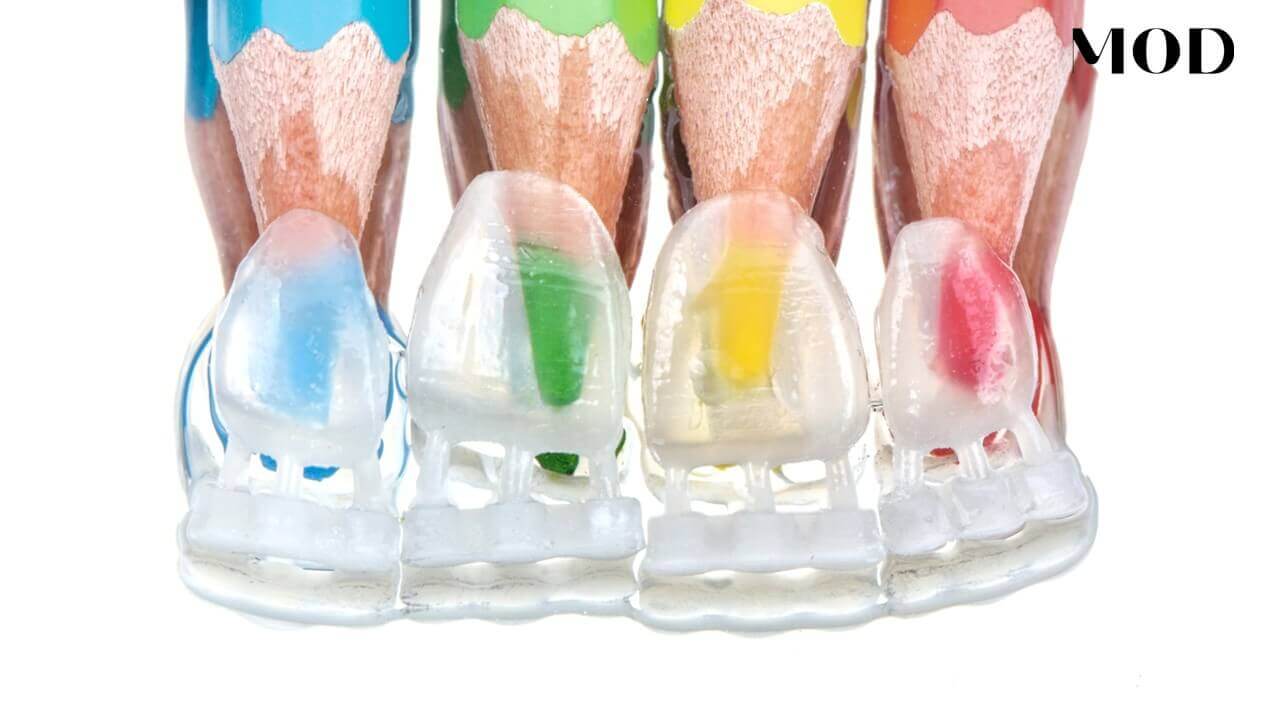
[460] And They're gonna be a little hard to get to. They're a little bit beefier because the softer and more flexible the material is, theoretically, the bigger and beefier the supports need to be to prevent print failure. [481] So I'm just taking my time here snipping these little they're like rubber. I'm gonna go all the way around to the back end and repeat.
[495] Being careful not to, like, put too much pressure at it on this point, especially if it's if it's warm, you don't wanna be doing it at all right now. It should be fully cool. [508] Yeah. And it's a little bit difficult to get to the middle supports to trim them. So you just kinda have to have patience with that.
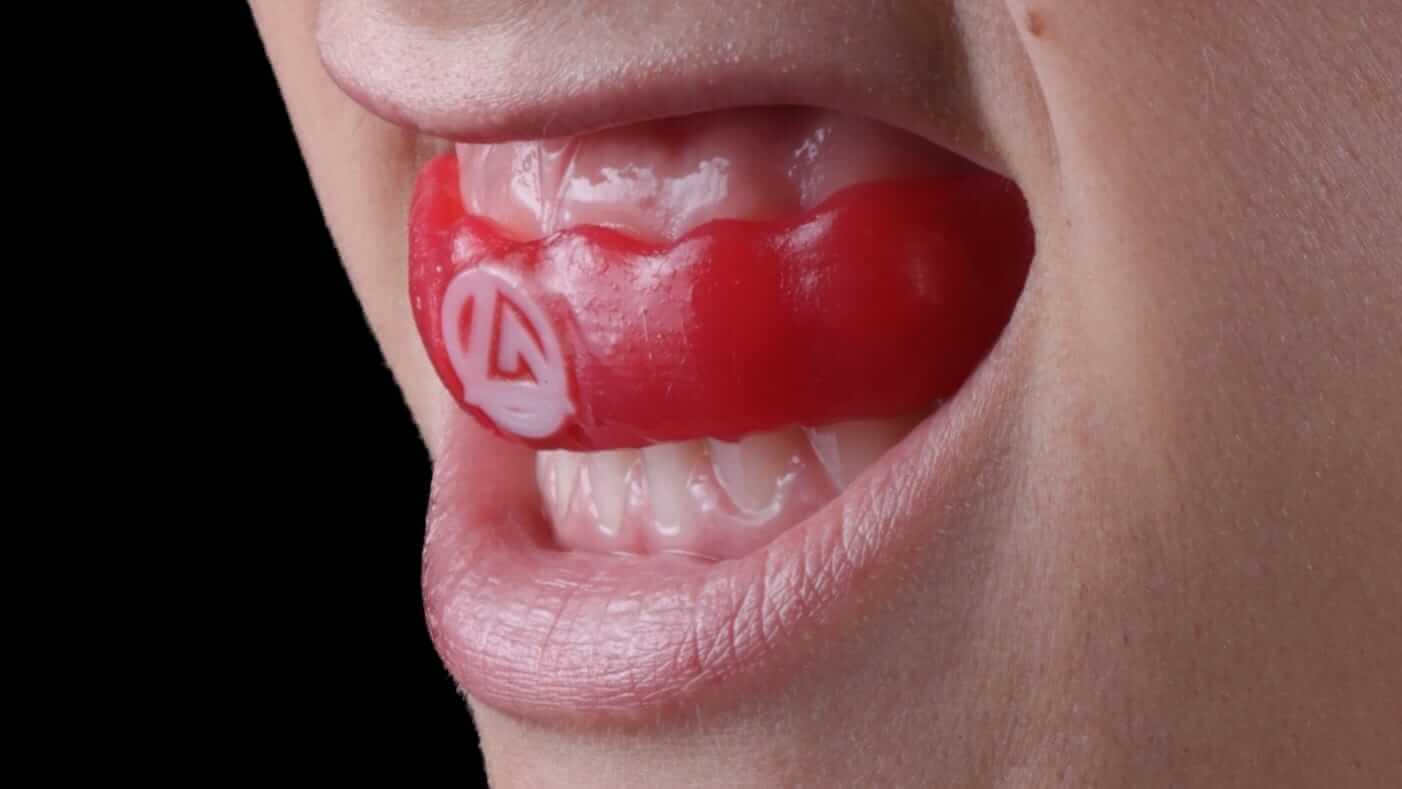
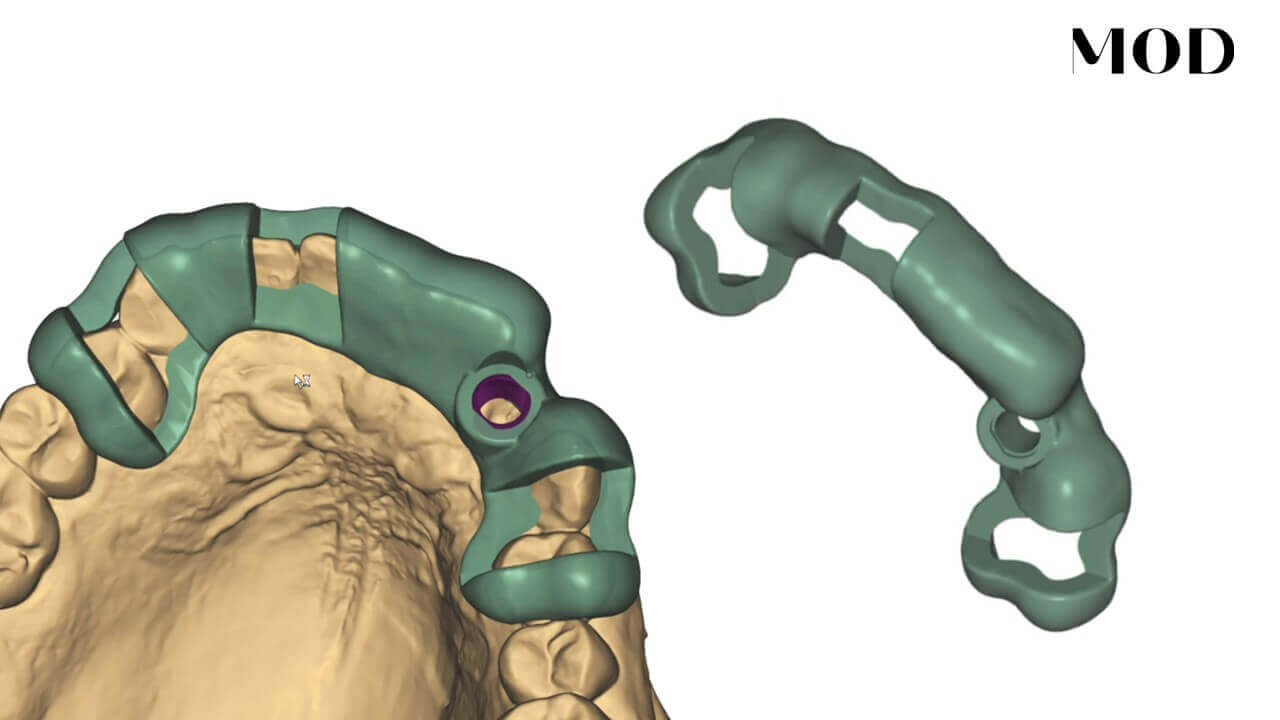
[518] And then you could start to peel the supports away. And what you're gonna see is what you're left with are pretty big little bumps. If you remember the way that I designed this, we actually had the occlusal surfaces cut into the appliance so that the patient can bite down into this with their lower teeth and kinda lock into a position. [543] That is, again, philosophy of depending on how you wanna cure these things.
[547] I'm just gonna go ahead and start to peel these away. I prefer to to trim them versus rip them off with my hands, but that's because it's just so flexible that you could rip the appliance or distort it. [577] Okay. Really good. I'm gonna go ahead and get the rest.
## Conclusion
[586] Okay. So what you're left with is gonna be bumps. And you you don't wanna do a ton of cutting here with the rotary instruments because you're gonna dull your surface quite a bit. [599] So what I like to do is just come in here with the flush cutters once I have all the supports off and just go ahead and fine tune. You're never gonna be able to get it. Even though it's called a flush cutter, you're never gonna be able to get flush. You're always gonna have to hit it with some type of rotary instrument.
[621] Okay. That's looking good. So I'm gonna go ahead and hit it now with my rotary to smooth up any of the little bumps remaining. So all we need to do is remove some of these little bumps, but look at the finish from the optical polish tank is gonna be shiny. [675] So I'm just gonna really quickly use my felt pad. Okay. So I'm gonna go ahead and get this clean with some soapy water and show you what we're up against.
[681] Alright. We're out of the wash unit and we're pretty shiny. And when I mean wash unit, I mean Dawn dish soap and water to get the dust off of it. If you wanted to make it even more glossy, you could try candy coating. [695] But you gotta be careful. You wanna make sure you use the native bicard resin and you could cure it in glycerin.
[700] However, I usually just leave it like this. And the reason being is because, it's smooth. It's nice. The patients like the way this feels. There's no need to have, like, anything glossier than this in my opinion. [710] But if you wanted to, you could always try it out. Got the logo all in there and everything looking really good. Can't wait to deliver this and show you how I do that.