# Photography Tips for Dental Practice
## Introduction
[3] So, guys, here in practice, I'd like to show how do I check this kind of pictures using the heat tractors. This is Skip. Okay. How do you use that? So, normally, I bring the patient, the opportunity to install the retractors. Eevee is doing that.
## Tips for Using Retractors
[21] The first tip that I would like to give you guys, yes, is the hands position. It's very good, Eevee. Very good. You can bite and position your head a little more done. It's very good. Okay. Can you see the speaker? Okay. But here, a big big tip, guys. The soft boxes, okay, we want to use with 45 degrees.
[48] We have to rotate this, okay, and put the flashes straight for the buccal corridor. Okay? Look. The light now is going for that direction because if I have this direction, the light is hitting out, and it's creating shadows in the buccal corridor. So when you change okay. That's very good. The same settings. Okay.
## Taking Pictures with Black Contrastor
[81] Now I want to show you how to take the pictures using the black contrastor. It's the same settings. Okay. I won't change anything anymore. And the same tip is the light direction is straight for the buccal corridor, the same settings. So now, guys, I'd like to show you how do I get the black contrast pictures.
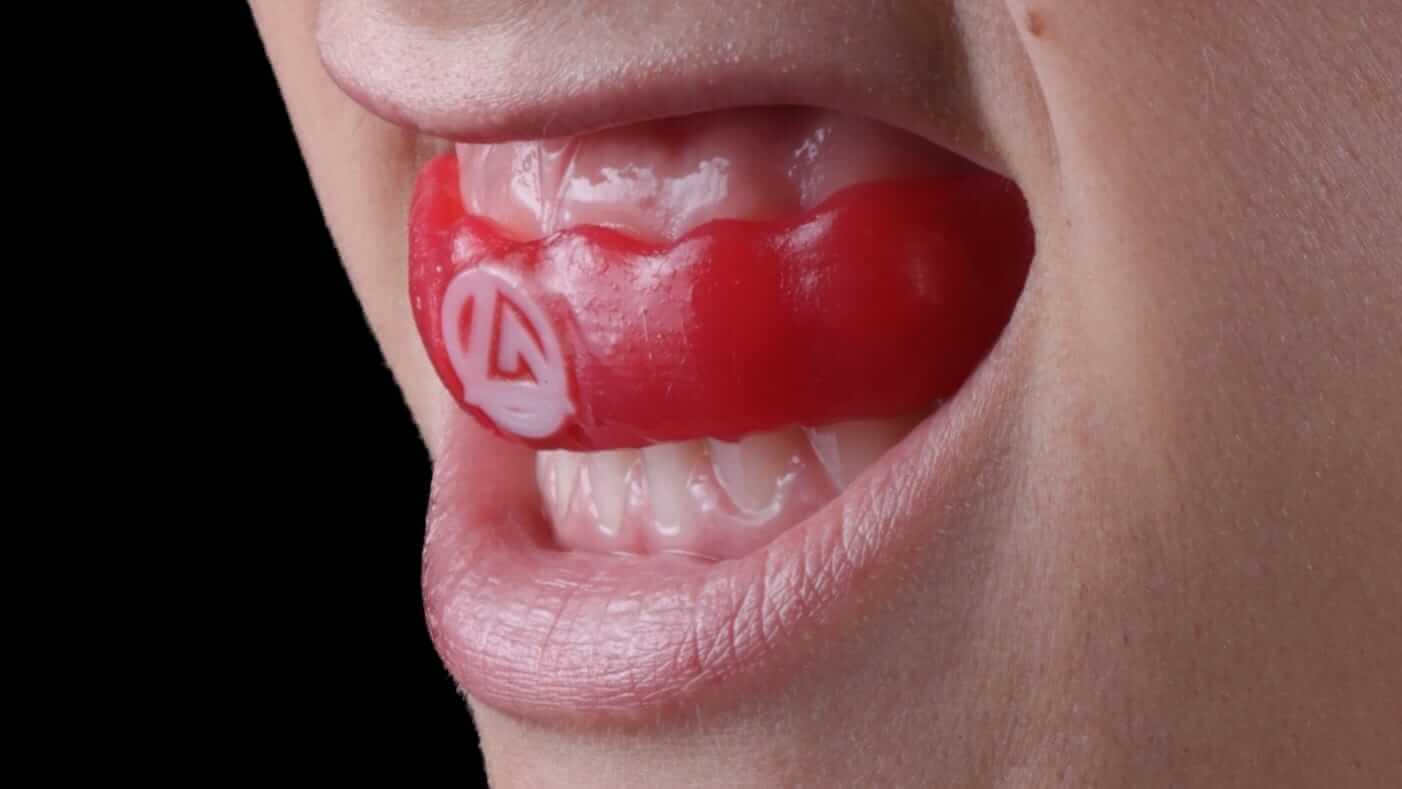
[101] I love this one. It's the smile line black contrast. It's flexi palette. Why do I like this one? Because I can shot the this kind of pictures, just the patient and me. I don't need my assistant to hold the retractors or hold this black contrastor. Okay? Why do I like? Look. We have this straight position. Okay? You can customize. Look.
## Positioning and Settings
[122] First tip and the second one. So you have to get almost this position. Okay? Because using this, the lower arch, okay, will support his this position and you can just take the picture of you and the patient. So I will show you so fast. Can you put the retractor please, Yvie?
[142] So the same settings, the softbox is the same position, it's straight so don't create shadows in the buccal corridor. Note that open a little, Yvie. Very good. Dot bite. Good tip. Head down, Yvie. And now, Yvie, your head is moving down and your hands up. Okay?
## Final Adjustments and Conclusion
[161] Move your head down and mix red. Yes. Very good. Because I need to see the gingiva. Okay, guys? A little more, Yvie. Head down. Head down. Yes. Very good, Yvie. Just unclick, guys. And that's it. We are done. Very good.
[176] Now you can see in your screen, guys, this beautiful, beautiful picture. It has a beautiful enamel with textures. You can see the details. I love to take this kind of picture to show the before and after for the upper arch. Okay? And it's super easy and fast. You see you saw that. So extra aural and intra aural is the same settings but the big difference between both is extra aural, the light is 45 degrees.
[199] For intra aural picture guys, always remember the light is straight for the buccal corridor to remove the shadows that we have in the Buccal corridor. I hope that you like this tip guys, see you in the next class.