# Designing an Immediate Maryland Bridge
## Introduction
[0] Sometimes we have a patient that needs an extraction and perhaps they need extensive grafting or it could be that you place an implant and it doesn't quite get to the torque values that make you comfortable with immediate load and you have no other alternatives. A little adhesion bridge could be a really great provisional option in these scenarios.
[22] I'm gonna show you how to go ahead and design that pre-surgically so that you could have one as a backup plan. It's always good to have a plan B when you're doing things in dentistry that could potentially save you hours of chair time. So let's go ahead and talk about how we set the case up and how we do this in design.
## Setting Up the Case
[37] The first thing is they're gonna go to default client. I'm gonna call this an immediate adhesion bridge. And, let's just go ahead and pick tooth number seven. And I'm going to call it anatomic panic three d print, okay. I'm going to call virtual extraction yes, copy mirror yes, and I'm going to click okay.
[61] I'm going to hit save, and I'm going to go load my files. Now these could be some preoperative scans that you might have had on hand, from your consultation appointment. And let's go ahead and find some scans to load in here.
## Designing the Bridge
[89] Okay. So once we have the files loaded in, the first step in exocad is always to right-click the model and rotate it to be looking straight down on the screen, just like this. And you wanna be kind of, looking at the occlusal surfaces and incisal edges and be able to see just a little bit of the buccal of the anteriors, just a tiny bit. Not like this, but just a little bit. I'm gonna go ahead then and hit next.
[117] Okay. So the first thing it wants to do is for us to extract tooth number seven. I find the most accurate extraction is if you click on the straight facial of the tooth you wanna extract. It's gonna go ahead and create a virtual extraction socket of that tooth. Now you have a few different options when you do this.
[136] And in fact, when we set the case up, we probably didn't actually have to do the copy mirror because the patient has a tooth right here. You could do virtual pre-op which means exocad will extract the tooth and you get this kind of pre-op tooth that you could then later copy or you could do direct copy. Direct copy is what we're gonna do here because it's gonna extract the tooth out and actually give it to you as a library tooth.
[159] Now, go ahead and hit f on your keyboard and look at the extraction socket. I'm going to turn my color off so you can see a little bit better. This little ball that you you could click and drag represents the angle of the extraction socket. So, where the angle that you drag it is the angle of the little ovate pontic site that it's creating.
[178] In addition, this represents the depth of the pontic site. Site. So the deeper you could go, with this value here is the bigger the concavity exocad is creating. Now, for an immediate extraction site, I like to go about two to three millimeters, and then I like the ability to create a nice obeyed product to my adhesion bridge that's gonna start to sculpt the emergence profile of the restoration.
[206] For future implants or if I did grafting here, the pillow and tissue will heal around this and it'll be beautiful sculpting of the tissue. And the main thing is getting the correct angle here, so I'm going to be looking a little bit more like that. And I'm looking from the facial, I'm looking at the emergence here, being kind of a mirror image, and I wanna just kinda rotate it a little bit more distal, just like that. That's great. So what I'm gonna do now is hit next.
## Finalizing the Design
[233] And so now we have an exact replica of the tooth that we extracted right here. Let me go ahead and put that opaque. And including all the occlusal contacts and everything like that. I'm just gonna go ahead and hit cut all intersections so that it adapts to the interproximals.
[248] And if I go here and I go to my adjacents, I could see a little bit of adaptation here and adaptation around my extraction socket. Okay. And then one thing that I like to do here is go to my, pontic site here and just make sure I have no concavities. It looks like a nice rounded ovate pontic site. So that's looking really good. So I'm gonna hit next.
[279] Now it says, do I wanna design a gingiva? I'm gonna go ahead and design virtual gingiva. And I'm gonna pick the path of insertion of this Maryland bridge to be slightly lingual, so I'm gonna hit set from view and hit next. It's gonna create the virtual wax up bottom, which is putting a thin coating of a spacer on the linguals and everywhere else based off of this path of insertion.
[303] The default is 30 microns of spacer, as you could see here, with about 17% smoothing. That's perfect. So now what I'm gonna do is turn on the antagonist here and look and see how much room I have, a for the antagonist, or you go up here and just drag it on. And I'm pretty tight here, so I'm gonna start drawing my wing here, going all the way to the tissue, coming straight down like this, and then I'm gonna go ahead and do a little wing, little, wow, that is a tight tight space there. That is okay.
[346] Just like that. Looks like that's the best I'm gonna be able to achieve here, and then I'm gonna go ahead and hit f to turn off my crown, and I'm gonna go right down into this pontic site like that. The thickness you want is one millimeter, for the wing. So that's set right here. So that's looking really good like that, and I'm gonna go ahead and hit next.
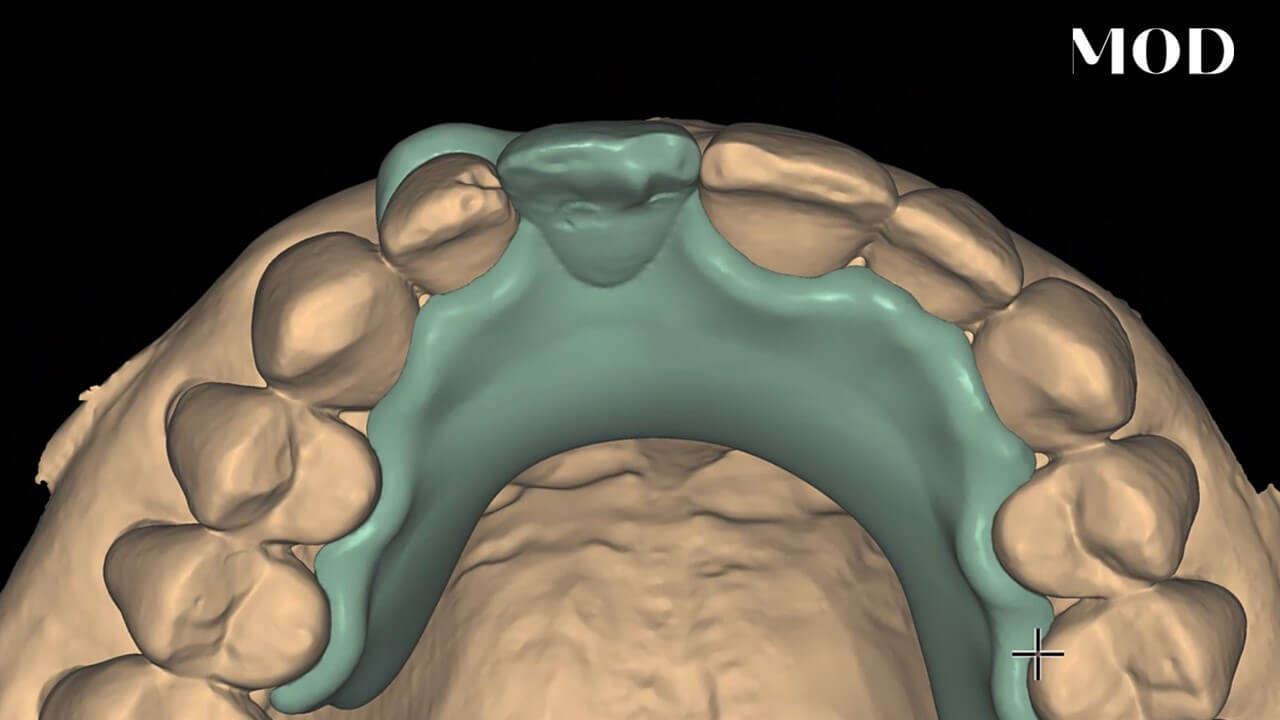
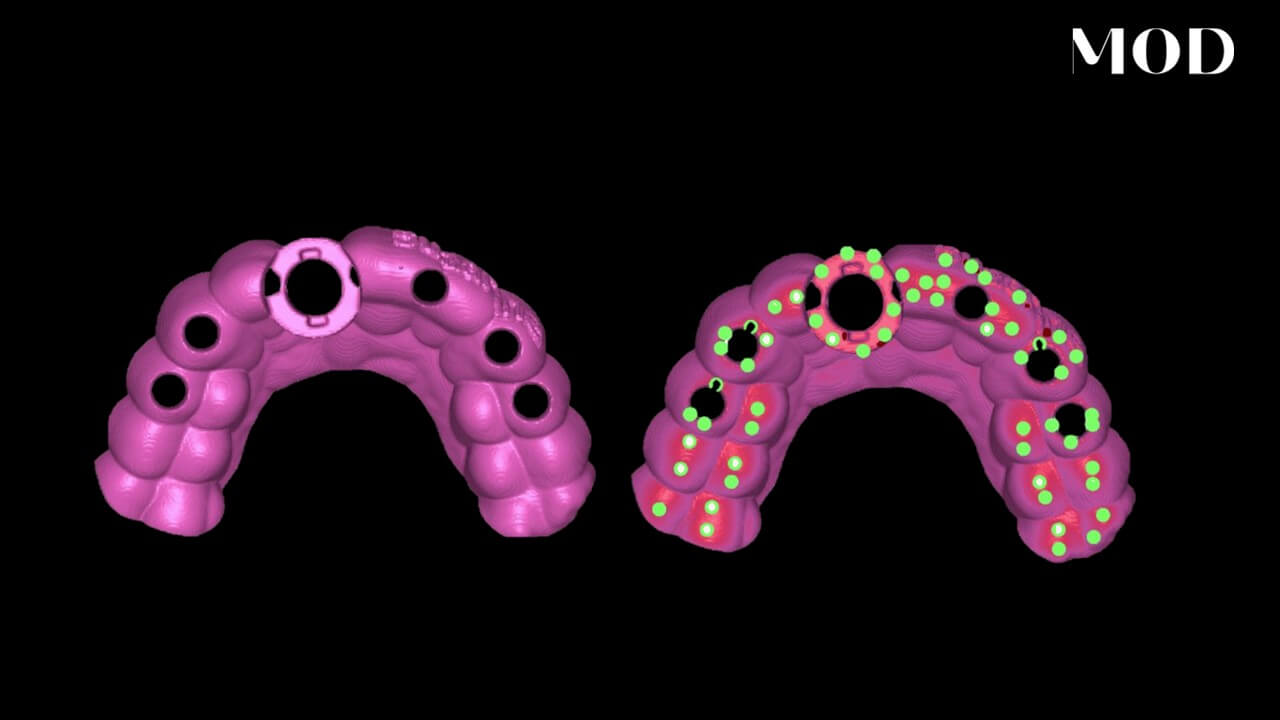
[371] And I'm not gonna do anything to this tissue. I'm just gonna hit next. It's now gonna slice the wings to fit the teeth, and that is my tiny little winged bridge. Now what I wanna do in this particular case is smooth and make cleansable. So I'm gonna go to free form restorations, I have my merge part, hit next, and I'm gonna turn on my contact area to go show distance to to scan data, nearest point distance, put this as small as it could go here, and this top value here is somewhere around, one millimeter.
[415] Okay. So now, this is a color coded map of tissue pressure. So I'm just gonna add a little bit more tissue pressure right there. Remember, we already have it set for a two millimeter extraction socket. And then I'm gonna smooth that tissue ridge lap right here. And then I'm gonna go in here with that same smooth tool, put my brush size on small, and open up for cleansability right here.
[442] Don't go too much because then you're gonna get a breakage here at the connector. Okay and then we want to make sure it's flossable in here. That looks good. Okay. So now we have a little tiny adhesion bridge that we could have as a backup option. I'm gonna hit next, save my modifications, I'm gonna turn off my show distances.
## Conclusion
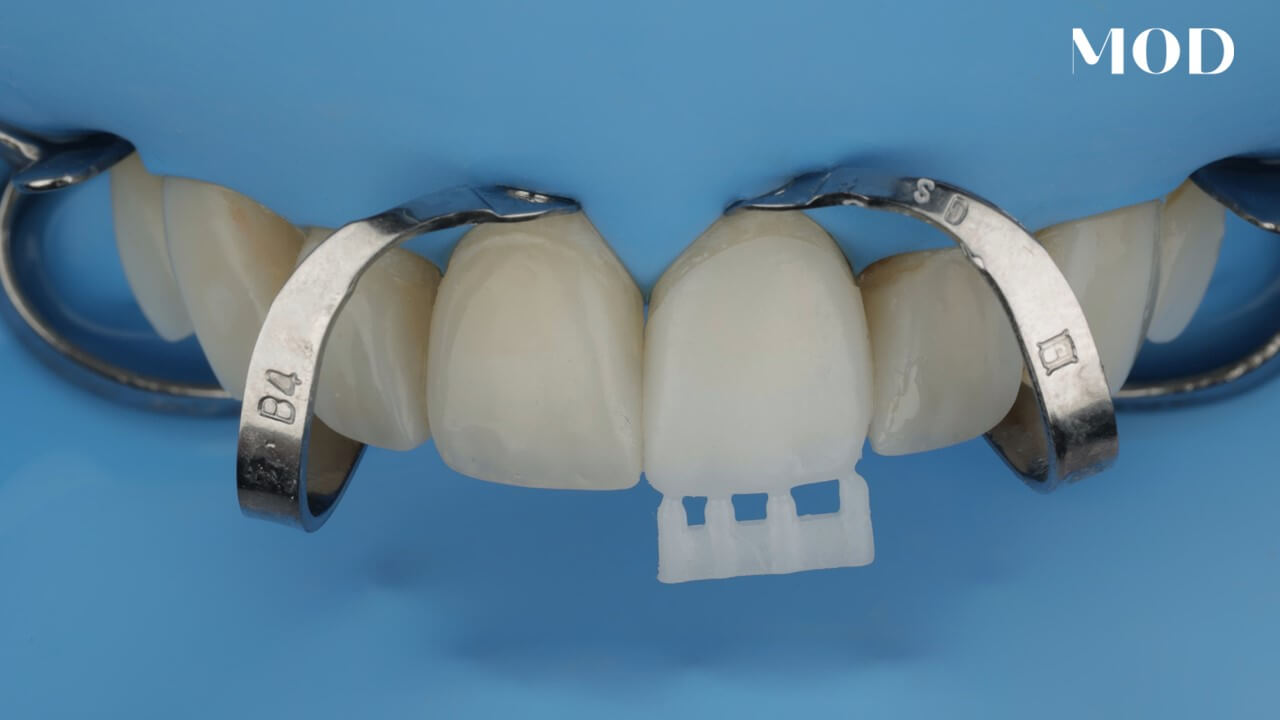
[469] And so here now we have our little Maryland bridge. Now one thing I would say is be super careful when you are smoothing that you did not alter the fit of the wing, as we talked about in the other Maryland bridge lesson Because you don't want when you're in the freeform merge, you could actually change the fit here to where I cut it. That will no longer sit flush to the tooth, and you'll have big gaps.
[502] That's looking really good as a temporary backup option just like that. So I'm gonna go ahead and hit on done. And that's all there is to an immediate Maryland bridge. It's super quick to do. It's quite relaxing and peaceful to have backup options on day of surgery. Like for example, you'll have your, provisional implant restoration ready to go presurgically if you're doing it guided and then you'll have a little adhesion bridge as a backup option in case you just don't have torque or if you need to go to plan b. And I guess plan c would be some type of partial denture or monolithic partial denture, and we'll get into that too as well. So there's videos on that that you could check out.