# Designing a Maryland Bridge
## Introduction
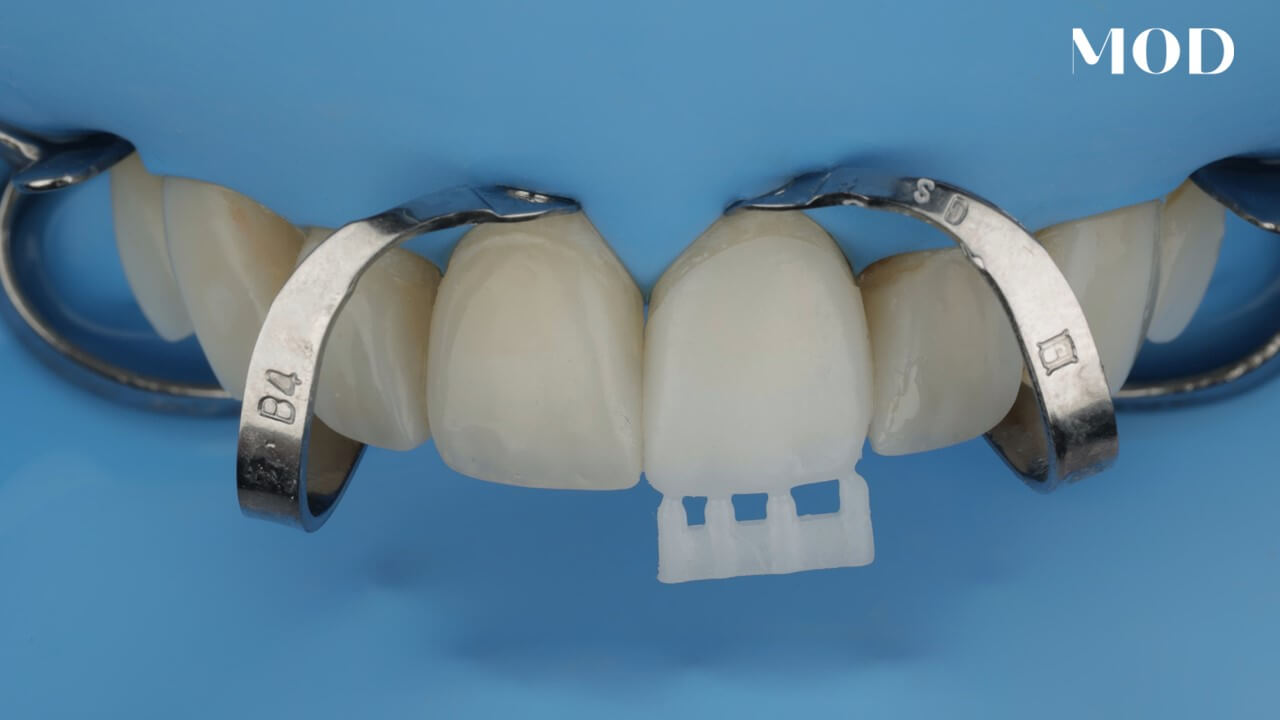
[0] One of the easiest things to design in your office is a one wing or two wing adhesion bridge or Maryland style bridge. There's a lot of evidence out there that supports one wing being better than two for rigid materials like porcelain and metal. [10] However, when it comes to flexible style materials, I often find, and this is just anecdotally without any evidence in literature, two wings seem to work better for me. But the workflow is the same regardless if you do one or two wings. So let's jump into Maryland Bridge design.
## Setting Up the Design
[25] In this particular case, I have my exocad dental DB open and I'm gonna go ahead and pick default client and I'm gonna type in the patient name here and I'm gonna call this Maryland Bridge. Also known in other parts of the world as just Adhesion bridge. And I'm gonna pick, tooth number eight and I'm gonna call this, anatomic pontic. Three d print. Virtual gingiva, yes, copy mirror, yes. [61] So in this particular case I have a one tooth Maryland bridge where I am able to mirror image the contralateral tooth. So I'm going to go ahead and take advantage of that. I'm going to click okay and I'm gonna hit save.
## Designing the Bridge
[75] I'm gonna go to design, and I'm gonna load up my case. I'm gonna find my files. Alright, here we go. So the first thing that you do in Exocad is you orientate your model to be looking straight down on the arch like this. You don't want to be crooked. You don't want to look from the anterior, from a buccal, or from the inside intaglio surface of the model. [110] You want to look right down the occlusal surface perfectly like that. And once you have that orientation, go ahead and hit next. It immediately takes me to the mirror image feature. You know it's on mirror image because you see the icon right here in orange saying mirror.
[137] And you have two options. You could actually use it as your library tooth which is that direct copy or you could just use it as a pre op tooth. But I always like to use it as a library tooth, this direct copy being an orange. And to select the tooth for anterior, I like to rotate to the facial and click right in the middle of the tooth I wanna mirror. [156] And then I'm gonna slide my mouse, I'm not clicking anything, I'm just moving my mouse over to the edentulous ridge and I'm going to go right about here and I'm going to click. It's going to go ahead and drop that tooth in position wherever I clicked.
## Adjusting the Design
[169] Now don't panic, all you get is basically a tooth floating in air and we have all of our tools to be able to manipulate this tooth such as control which will rotate it. If you control and left click your mouse you could rotate it. Shift will expand the tooth and contract the tooth. You usually don't want to do that if you're mirror imaging. [192] Control shift will stretch the tooth, okay, and then just clicking the tooth will move the tooth. And so all I'm gonna do here is you can see the occlusion updating live. I'm just gonna move the tooth aesthetically to be kinda where I want it.
[202] It. Just like that. I like that. I'm gonna hit next. So now we have all of our free forming tools. The free forming tools allow you to do small manipulations such as grabbing this distal and just kinda rounding it a little bit more. You also have all your adaptation tools. [222] First thing I'm gonna do is just make sure I got proximal contact here. Okay. Your adaptation tools, I usually like to jump to those really early on in this process because when you're new to exocad or you're new to design in general, you tend to have too much confidence in your ability to sculpt things and you wind up like playing around with this rubber tooth tool.
## Finalizing the Design
[243] The next thing you know you got a butter bean and then you go and you try to like smooth it and you just got a disaster. So as a general rule, I'm gonna undo all that, when you mirror image something, stop playing with it. It's a perfect mirror image of the caustralateral tooth and just maybe just manipulate ever so slightly to help it blend in within the new space that it exists. [272] So, I'm pretty happy with this. The only thing that I'm gonna do here is, again, I'm just gonna raise up this distal just a tiny bit like that. Kinda liking that. And so now from here, I need to take care of a few different things. I'm gonna hit s on my keyboard to remove that upper model, a to remove my antagonist. I'm gonna come over here and I'm gonna look at my, adjacent contact points.
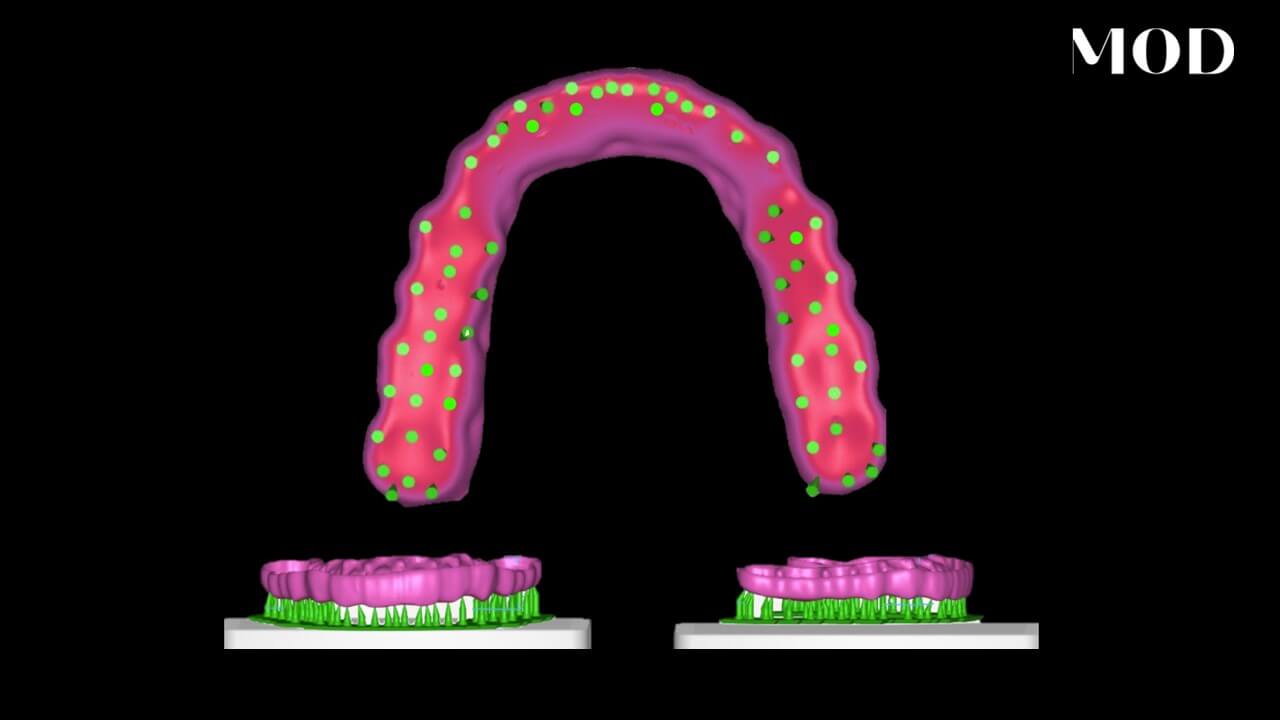
[295] Okay, and the first thing that I'm going to do is go to my free adapt, and I'm going to cut my interproximal contacts, make sure that they're this green color, and then I'm going to go to my basal, which is gonna slice my tonic to fit the ridge, and the pressure that I'm using is zero. [315] And then lastly, I wanna cut my occlusion, so I'm gonna hit aprox, or, static occlusion. Now you could have let me undo all that. You could have did all that at once just by hitting cut all intersections. That's gonna apply the basal, the static occlusion, and the aproximal all at once with one button.
## Dynamic Occlusion
[332] And what's cool is you can come in here and do it as many times as you want. For example, if I go here and I add this, maybe I wanna broaden this contact like that, I can hit cut all again and it's gonna slice everything again. Some some of you guys might want this out of occlusion completely and there's a few ways that you could go about doing that. [346] Under your adapt for your static occlusion you could make that number a bit more positive and it will lessen the strength of the occlusion. In exocad, a positive number is how the distance between the, contralateral and adjacent teeth here, so 200 microns, out of occlusion.
[372] Whereas the negative number means super heavy. So if I go into the negative here with like a negative contact string for occlusion, it's gonna be, heavier. One thing that it doesn't do, Exocad does not tend to pull contact. It only cuts it away. It does not pull it to reach contact. [393] So you notice when I have to go to a negative number and I hit it, it doesn't actually grow the tooth to hit the, adjacent, the opposing. So I'd have to go add here like that.
## Articulator and Final Adjustments
[403] And again, these adapt settings if I hit the negative number it's gonna be super hard. Now, the colors that you see are based off of this right here. So here we have our color map and notice I have show contact areas. You might have in your exocad show interference contacts or show, spacing. [422] You could have all sorts of things here, but the one that you really wanna focus on is show contact areas. And again, the default setting of about 100 microns is usually perfect if you want an occlusion that's true blue.
[437] Okay, so one thing that we have here with this adhesion bridge is a static occlusion. That's a little dangerous with an adhesion bridge especially in the anterior because you don't know you don't know your dynamic right now. What we're going to do is we're going to go ahead and bring it into the articulator if you happen to have the articulator articulator module. [455] All you do is jump into expert mode, go to tools, and go to articulator. And it's going to try to automatically mount that in the articulator, but let's just say it didn't.
[474] There's a few ways that we could go about positioning this in the articulator a little bit more accurately. The first one is this automatically that I like to do here where we set strategic points to mount it in Blackwell's Triangle. And the points that we could click are, for example, the mesial incisal of tooth number 24, the mesial buccal of tooth number 18, and the mesial buccal of tooth number 31, and we hit perform alignment. [502] And it's going to bring the arches just a little bit more accurately into that triangle.
## Conclusion
[510] Okay? And it does a decent job. And then you could click okay. If you have intrusions you wanna fix by cutting away intrusions, and now we have our models mounted in the arch like that. And we could go ahead and hit start articulator movements now. [534] Just like that. Okay. Now once we have our models mounted in the articulator, we click okay. We now have this ability to drag and you could tell it if you want the lower or the upper to move. And now we have our protrusion and lateral intrusion. This is essential. So I'm gonna go back to my wizard now and I'm still in my free forming step. But what's cool is now I can see see dynamic occlusion. And if I put my include healthy on, I can see it on all my other teeth. And what you notice is that during protrusion, if I turn off my dynamic here, I can actually slide and see both intensity and time.
[572] And you can see here, this is actually super dangerous. This is the only tooth hitting at this point in protrusion, right here. This green color means it's more intense than all the other colors. Blue being about 100 microns out of occlusion and green being about 200 microns in occlusion or so with a yellow dot. So that's bad. [585] So what I'm gonna do now is I'm gonna have the software slice all my dynamic occlusion on this pontic. And the way that we do that is we go to free, adapt. Now we have a dynamic button and pick the strength of your dynamic contact. And for me, I want it to be out of occlusion during dynamic. So I'm gonna go ahead and go to two twenty microns, two twenty two microns right here.
[622] And I'm gonna have it slice my dynamic out of occlusion here. But I'm gonna say, hey, I want you not to touch these MIP contacts and I don't want you to slice my incisal edge off. So I'm painting those areas to protect them and then I'm gonna hit cut by hitting this actual button. Let me show you, let me undo that real quick so you can see what it did. [645] I'm gonna turn my dynamic on. Watch this. It literally ground all my excursive movements off of this tooth, protected my static centric contact point and it did not shave down my thiazal edge. So now we have our dynamic occlusion perfect, which is awesome. So now when I come over here and I slide, I could see I have disclusion off of my adhesion bridge.
[674] Okay. I'm gonna turn on my lower so you can see what's going on. See I'm riding on cuspids and a little bit on my natural central, but not on my adhesion bridge during protrusion. And then lateral intrusion, we have second molar interferences here, which is very common, unfortunately. That could be equilibrated but this is a discussion for another day. [699] So I'm gonna go ahead and hit next now that my tooth is perfectly in occlusion. And I am gonna go ahead and set my path of insertion of my adhesion bridge. It's not gonna be quite from a straight lingual like this. It's a little bit more a little bit more straight up, not perfectly splitting this ridge here but maybe just a little bit of a lingual bias. So So you rotate the model, and then you hit set direction from view.
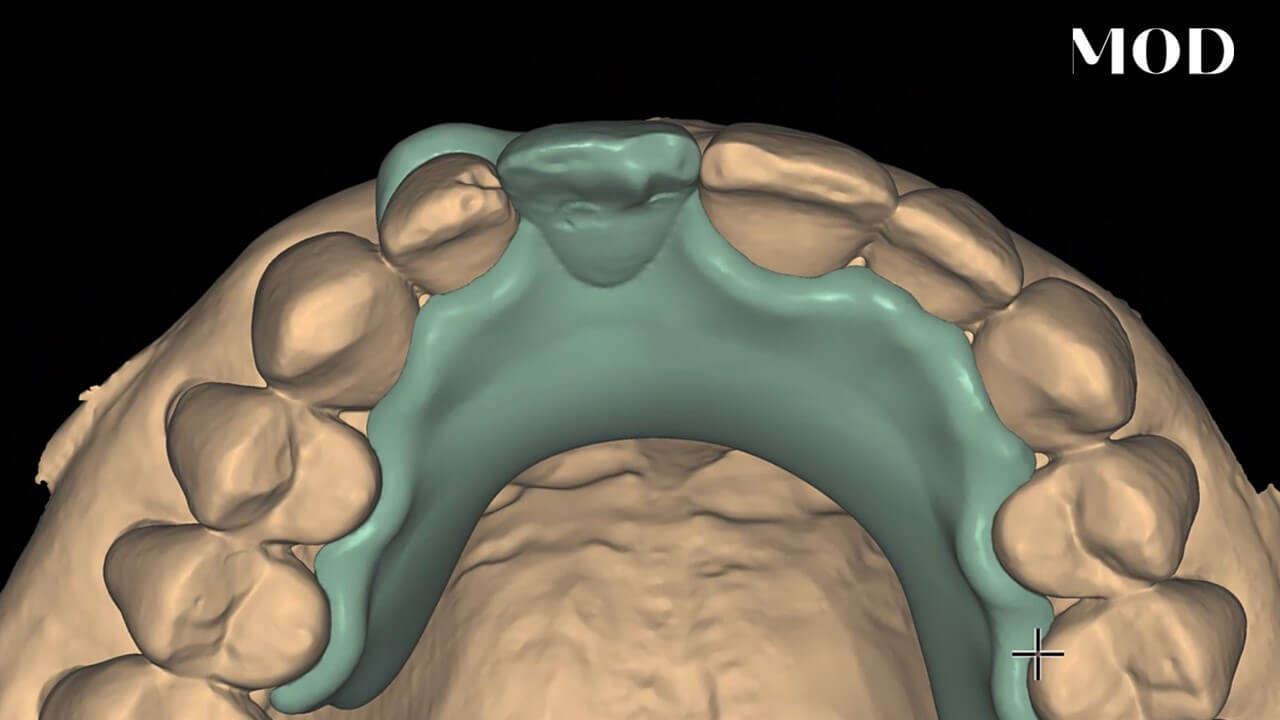
[727] And that is all you really need to do. I'm gonna go all these block out settings are good on default. 30 micron spacer, 17% smoothing, 100 microns diameter here and allow up to 100 microns for undercuts. You're gonna go ahead and hit next. It's gonna create the virtual wax up bottom which is the model to which the Maryland Bridge is gonna actually fit to. [762] Looking really good and now we draw our wings. I'm going to turn on my antagonist by hitting a on my keyboard and I'm just going to come down here and on the lingual I'm going to go right up to my natural pontic and I'm going to go right up to that occlusal like that. Now, that's pretty simple, but what we need to do now is do our guide planes which are super critical for our Maryland Bridge. I'm going to hit a to turn off my antagonist, f to turn off my full contour crown, and I'm gonna go one millimeter lingual to mid proximal and I'm gonna come down with a bar like this. You guys see that?
[804] And then I'm going to connect back to my first wing like that. Now the thickness that you want is one millimeter on your wing, okay. It's gonna seem huge but it's only one millimeter thick and if you're printing this prosthetic one millimeter is perfect. What's really more important than the wing thickness is your connector surface area here. You want as long of a connector as you could get here. [838] So I might just raise that one up a little bit right here. And if you really were struggling with let's say like a class two patient that's occluding on the cingulums, you could actually come over with your wing and go on to you could do a facial veneer outline. Or you could go a little bit more facial with your guide plane to get more retention there.
[856] Okay now that I got that I'm going to hit next. And now we're at the free form, the gingiva section which you're gonna be tempted to do a lot here. I would do very minimum here. I'm just gonna actually go here and smooth this back. With my add remove tool, something like that, and I'm gonna hit next. [879] And now we have our monolithic prosthesis but we're not done, we have to make this cleansable. And and you can ignore all these colors. So I'm just gonna turn off the show distances here just to look at the raw file. I'm gonna smooth up a little few things here by going to freeform restorations. This is the free forming now of the part that is all connected.
[900] And I'm gonna go ahead and smooth flatten and I'm just gonna smooth my pontic side here. Be very careful about what you do here. You do not wanna touch your wings because what you could do here is you could actually change the fit of your wings. So please do not touch any of your wings or any of the fitting surfaces of your wings. For example, look, you could ruin the fit altogether. [924] Really just focus on this pontic site here and how cleansable you want it, how much pressure you want it. For example, you could add some tissue pressure here if I go to my show distances and I go to distance to scan data. And I change my scale so I can see a little bit better. Let's say you wanted 300 microns of tissue pressure, that's orange. Oh, green's getting into a little bit too much. Right? So this is how you could control tissue pressure. Just make sure there's no concavities.
[953] It's ovate or modified ridge lap. And then the last thing that we need to do is make sure it's cleansable. And so what I like to do, let me turn off my colors again here, is just to make sure I can get a floss threader into this area. One way that you might want to do to alleviate is your smooth flatten your brush all the way on small, and just open up a little bit of an area, see this one is a little bit constricted here, just like that. [978] A little bit of an area here so that when you bond it in, look we can get a threader all the way through here for cleansability. Okay so that's just a little temporary Maryland bridge right there. Now I might just smooth this little area up right here, just so it doesn't look like a wear facet like that.
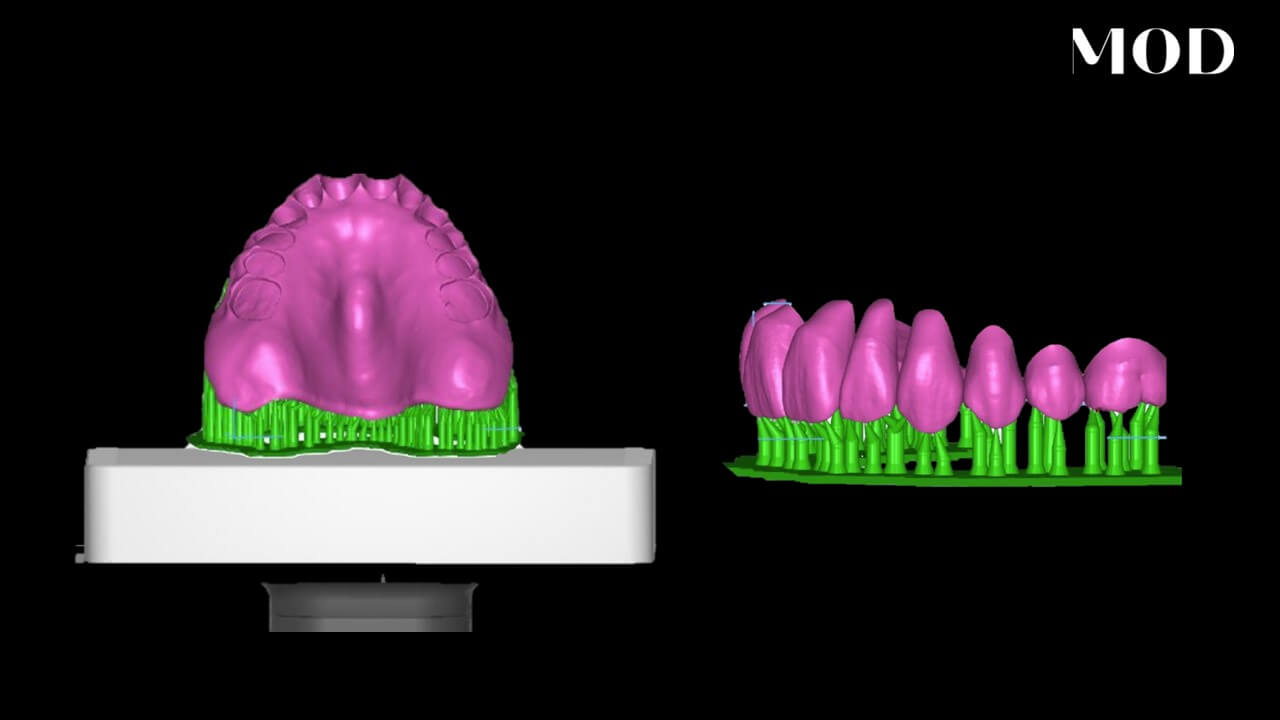
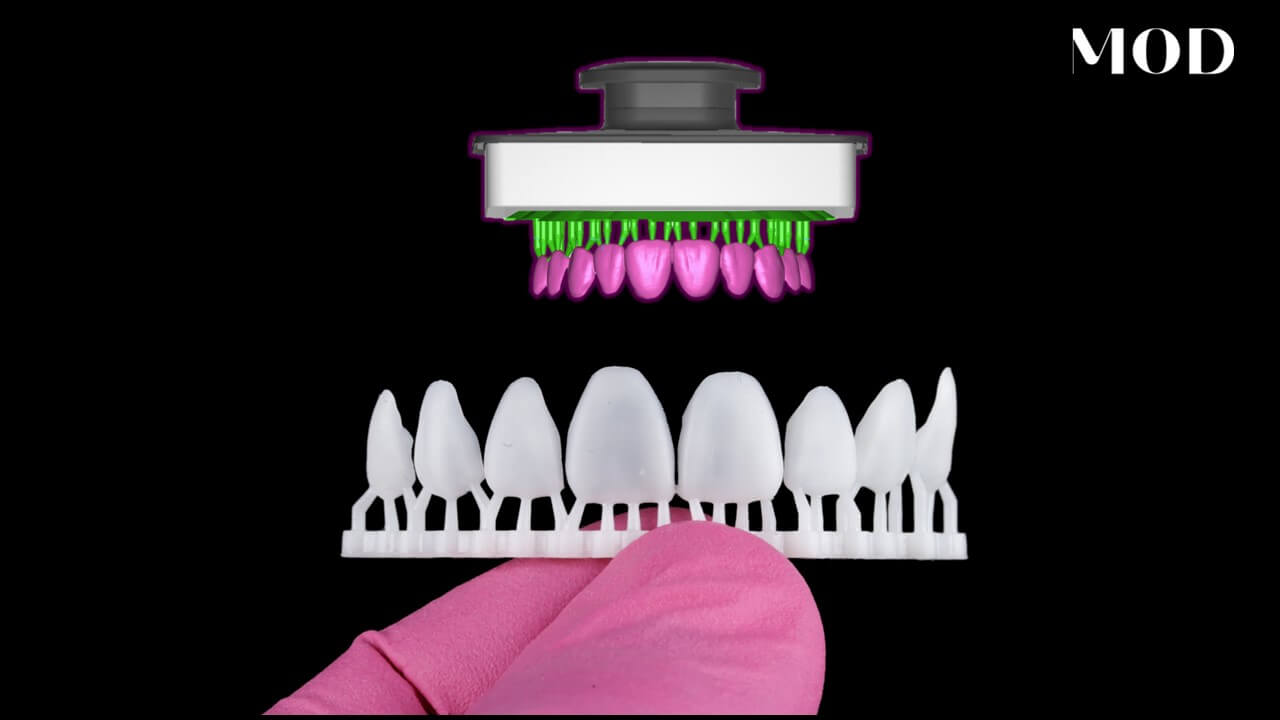
[996] And I love it. So I'm gonna go ahead and hit next and we are gonna save all of our modifications. And what we're gonna do now is nest this. So I'm gonna hit, I'm done. And it's saved right here in your DentalDB. If you go to open an explorer, you could see that's not it. It's the STL file right here. [1030] Okay. So the way that we like to nest this, it doesn't matter what software you're nesting in, is incisal edge down. So let me show you. Let me just jump on Rayware, really quick. So I'm going to go to my Rayware, I'm going to hit new print job, I'll just call this, let me hit a new print job, crown and bridge.
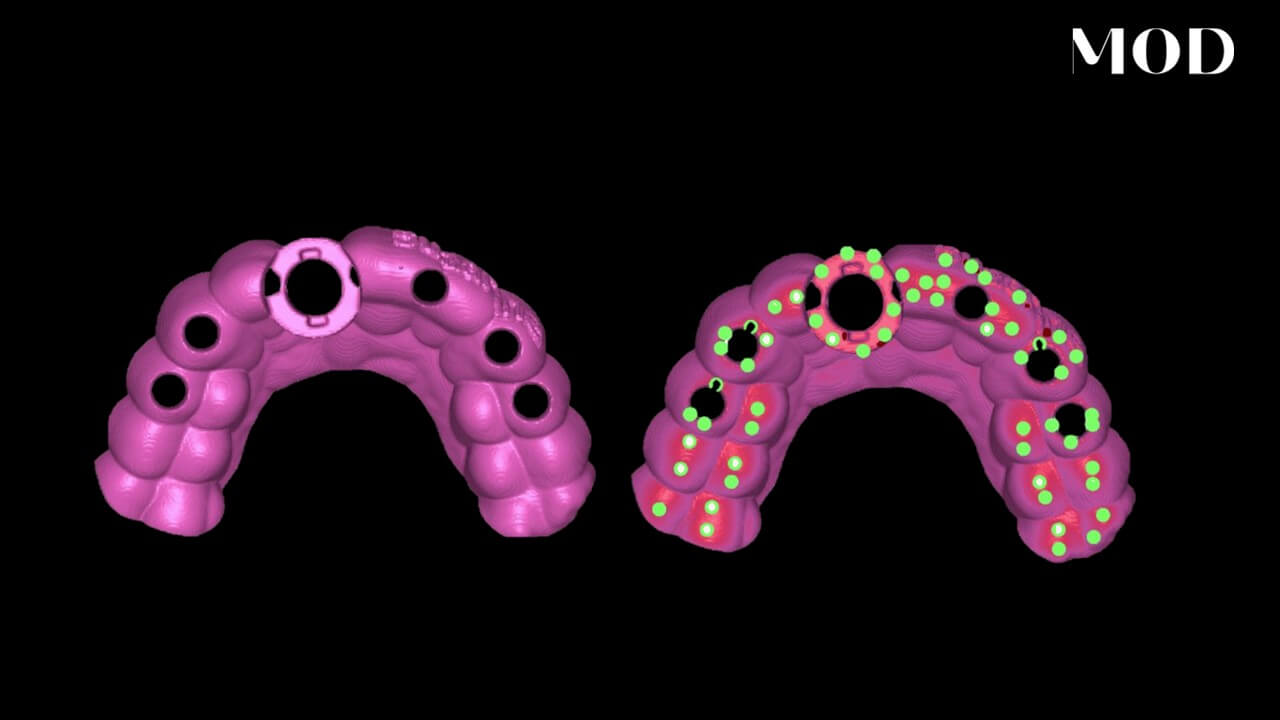
[1062] Okay I'm going to just print it on the regular here and I'm going to go ahead and drag it from here, so I'm gonna minimize this. It's right there, right into here, boom. And I'm gonna hit prepare print. What it should do is rotate to the incisal edge being down on the build plate and it'd be super easy to nest this and get it ready to go for a same day restoration. [1090] Okay, not quite the way I would want it so I'm gonna go ahead and click and edit it. So I'm gonna go to orientation. There we go. Sisal edge down. And a minimum of three to four supports on the incisal edge. And you want supports all along your wing border.
[1116] So if I go to supports, addremove individual supports, I want to go all the way to the tip of my wing so it gets no deformation at the tip border. And we don't need supports jumbled up like this. So you just need four like that, equally spaced. And these are just bonus supports over there. You're good. Just like that. [1143] So that is how we would nest a Maryland bridge.