# Single Unit Veneer Case Study
## Introduction
[0] Let's take a look at one of my favorite cases that I've done recently, which is a single unit veneer. This patient presented with a fractured veneer on tooth number nine. She had these veneers done not so long ago in Florida with a really talented dentist, and she bit down on something the wrong way and popped the veneer and fractured it. [17] She came in really, kind of upset because she had some events that she needed to go to and she wanted the veneer fixed today. And so let me explain the workflow.
## Procedure
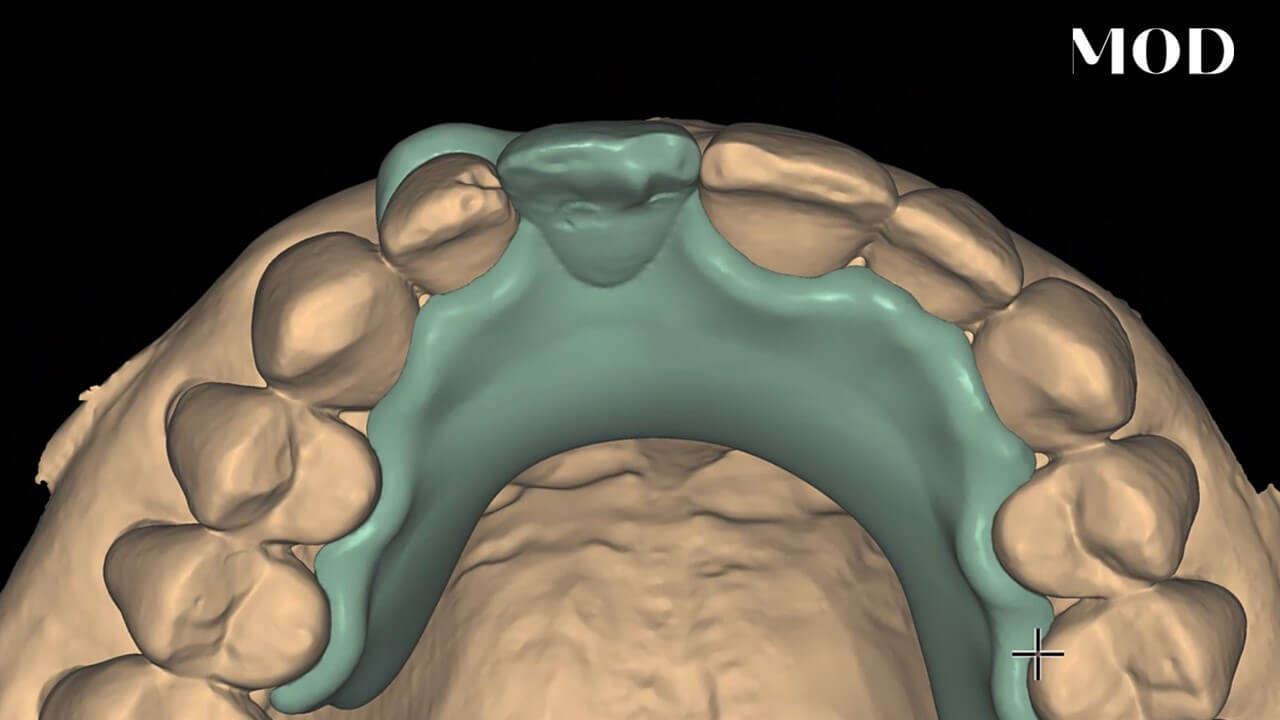
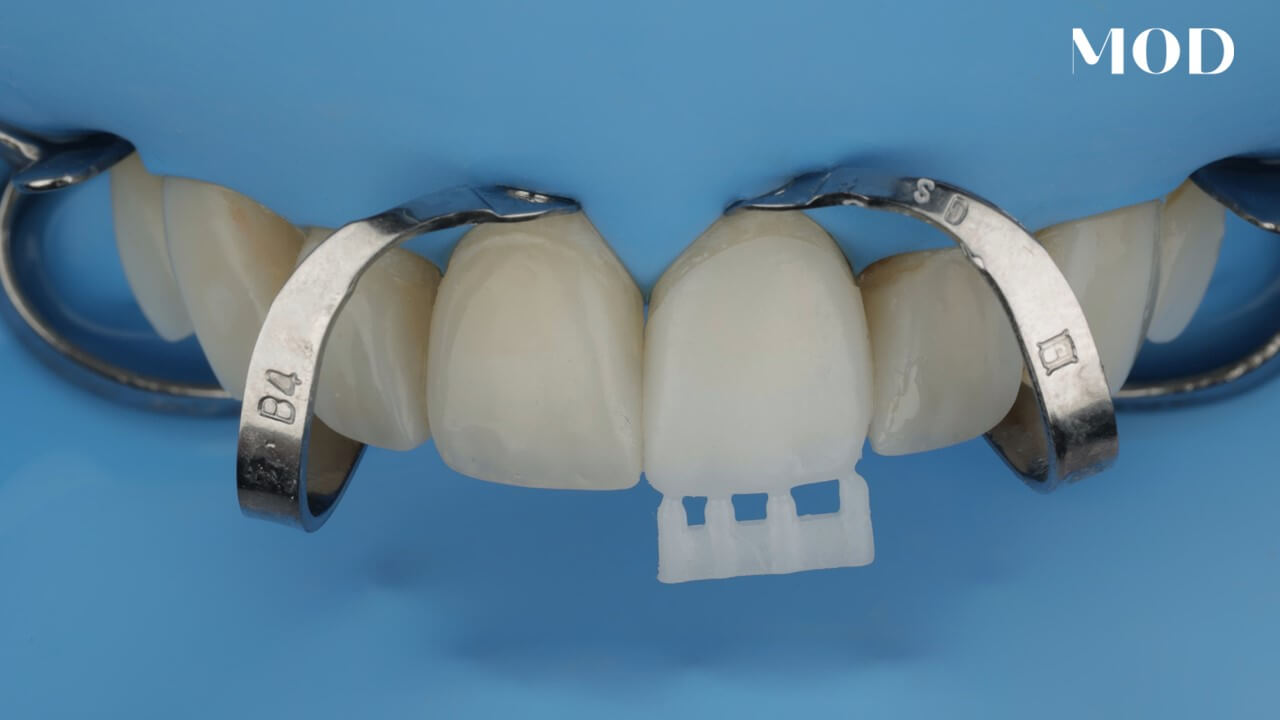
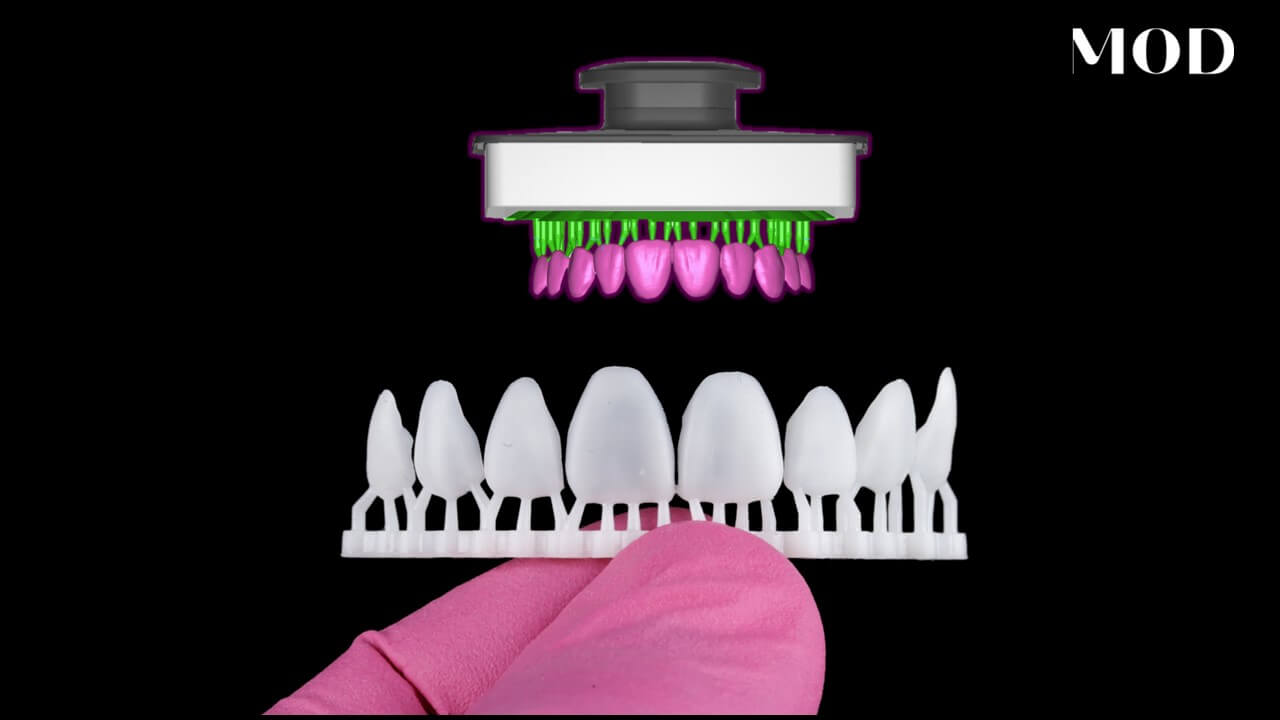
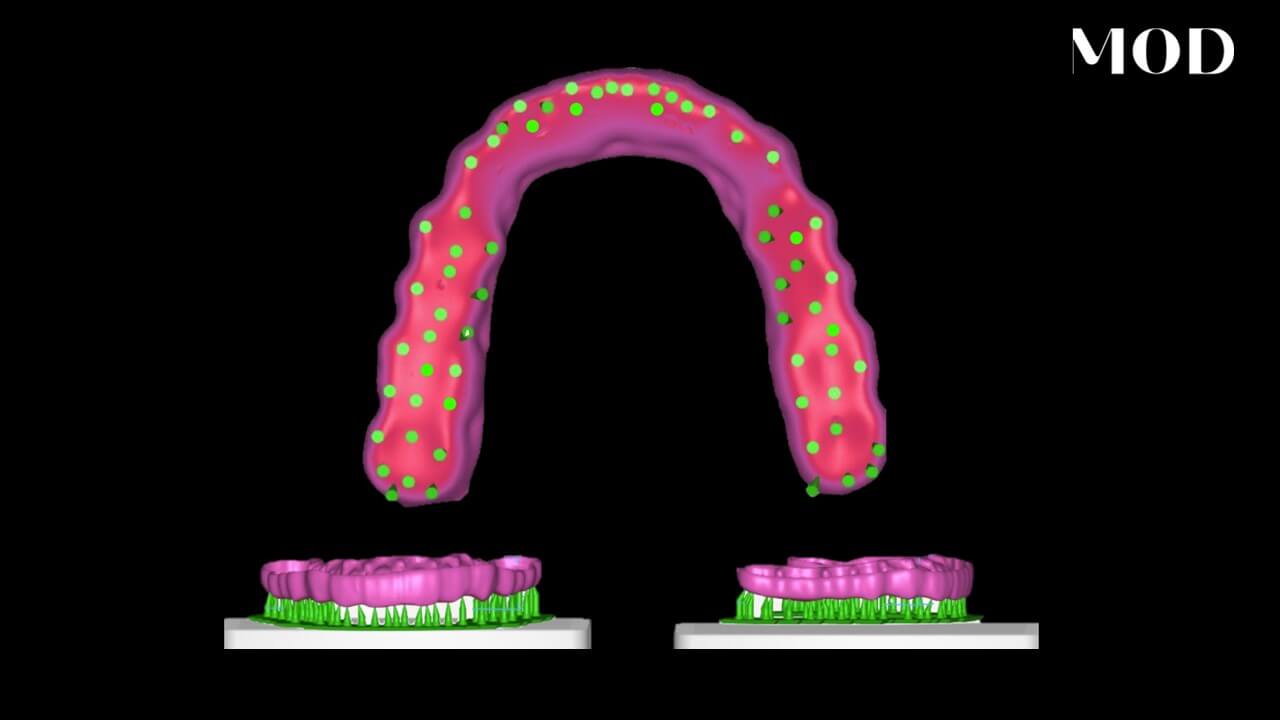
[32] We went ahead and used UV light to highlight the material fluorescent property so that when I removed the veneer, I was only removing artificial material and not hurting her unprepped enamel. After that, we went ahead and scanned into the software and put it into Exocad, and I mirror imaged tooth number eight onto tooth number nine. [55] Once we were able to get the design ready to go, we 3D printed it in the Midas printer using a new high translucency, very beautiful, 60% filled resin from SprintRay.
[68] We printed it specifically and purposefully a little bit brighter because I know we wanted to customize it in the mouth. And so the way that we did this, we placed the veneer in the mouth and I painted Ivoclar's trans opal effect on the top of the veneer as a glaze layer. [82] This lowers the value ever so slightly, and it also adds a protective coating in a 79% filled, easy to hand polish. It's a beautiful, viscous, flowable resin.
[98] We then inter diffused stains down into that layer. We used Ivaclar's Empress Direct colors. We used some gray and violet colors for the incisal edge. We used a little bit of brown to warm up the cervical third and get it to blend in beautifully with the contralateral tooth. [117] And then we prepared everything for bonding.
## Bonding Process
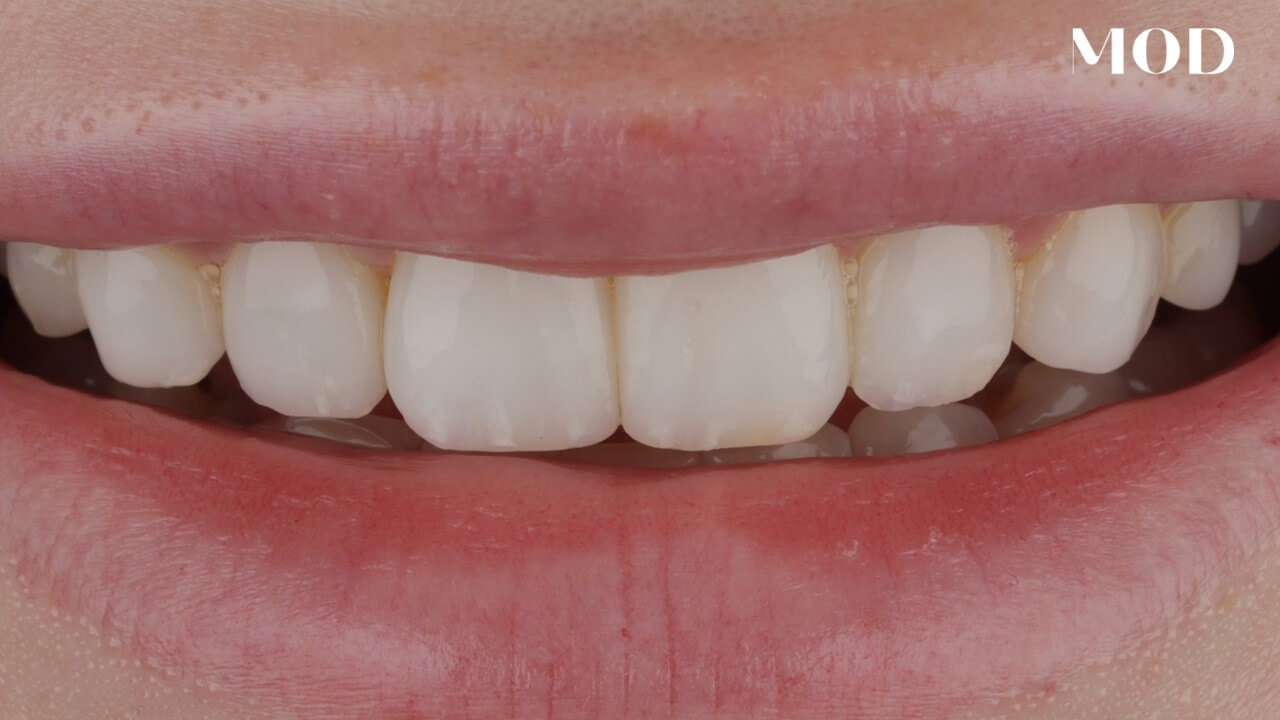
[120] We went ahead and isolated nice rubber dam isolation. We etched and put adhesive on the unprepped enamel and we sandblasted the veneer and painted adhesive on the veneer. And then we used Ivaclar's Verilink aesthetic LC and we used the color, neutral to kinda lower the value just a little bit. [140] And you can see the final result results are almost indistinguishable from her veneers that she had done prior which is a difficult thing to do.
## Conclusion
[145] And I think the patient was super happy. We were able to have her in and out in just under an hour and a half and she was very thrilled to go back to her daily routine and not have a broken tooth to deal with anymore.