# Efficient Denture Repair with Digital Scanning
## Introduction
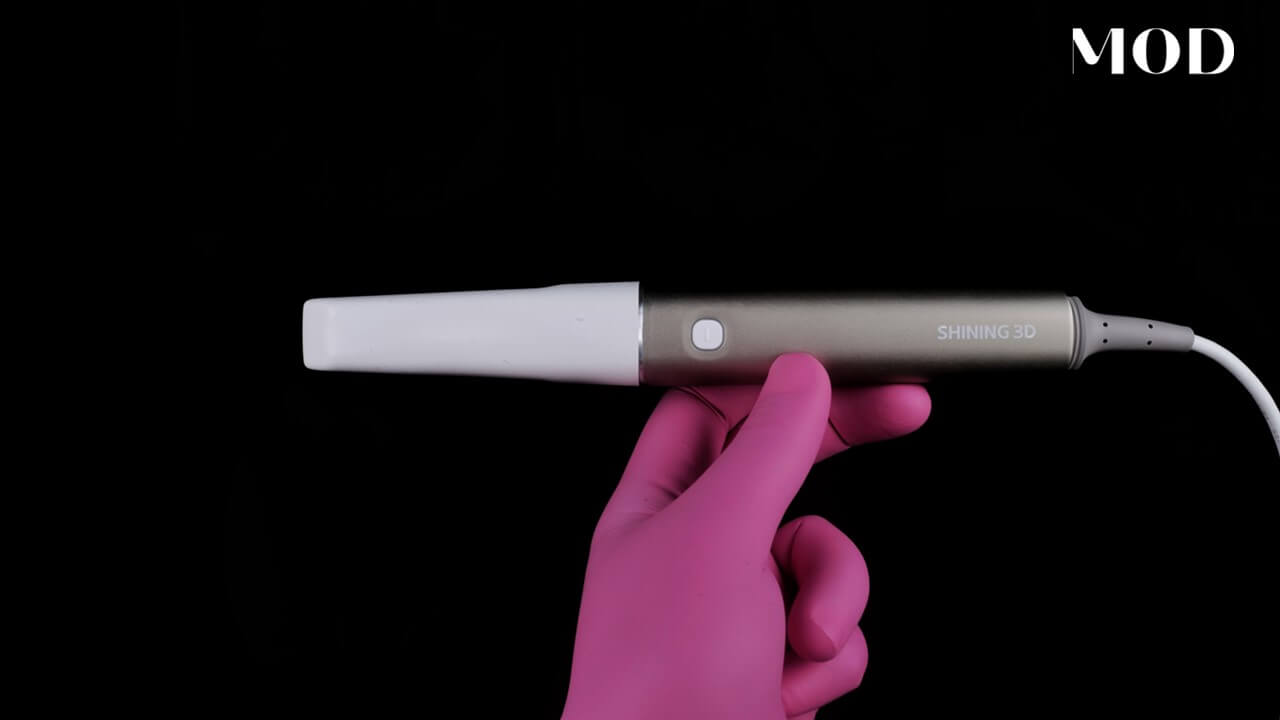
[0] Look at this broken denture. This patient came in at 04:30 on a Friday afternoon, and we used this old denture to fabricate records amazingly fast. With a few little tips and tricks from the shining elite scanner, we're able to get this done in time for my team to go home at the end of the day. I wanna give you some real-world scenarios of how we use this scanner, and I'm gonna slow down the actual time of this video to be real-time so that you could truly gauge exactly what I'm doing when I scan this prosthesis in and use this ultra-critical piece of information in order to capture the vertical dimension while I fabricate brand new records for a new denture.
## Workflow and Scanning Process
[42] And so the way that this workflow goes is in the shining elite scanner, in order to get all your information properly aligned where you have your upper and lower soft tissue scans aligned to the old upper and lower denture, which by the way, both of them were broken. She super glued the lower together. As you can see right here in this image, she actually got the distal extension a little bit wrong when she bonded it on. And so we're gonna actually just realign these to make sure that they're perfectly accurate representations of the soft tissue.
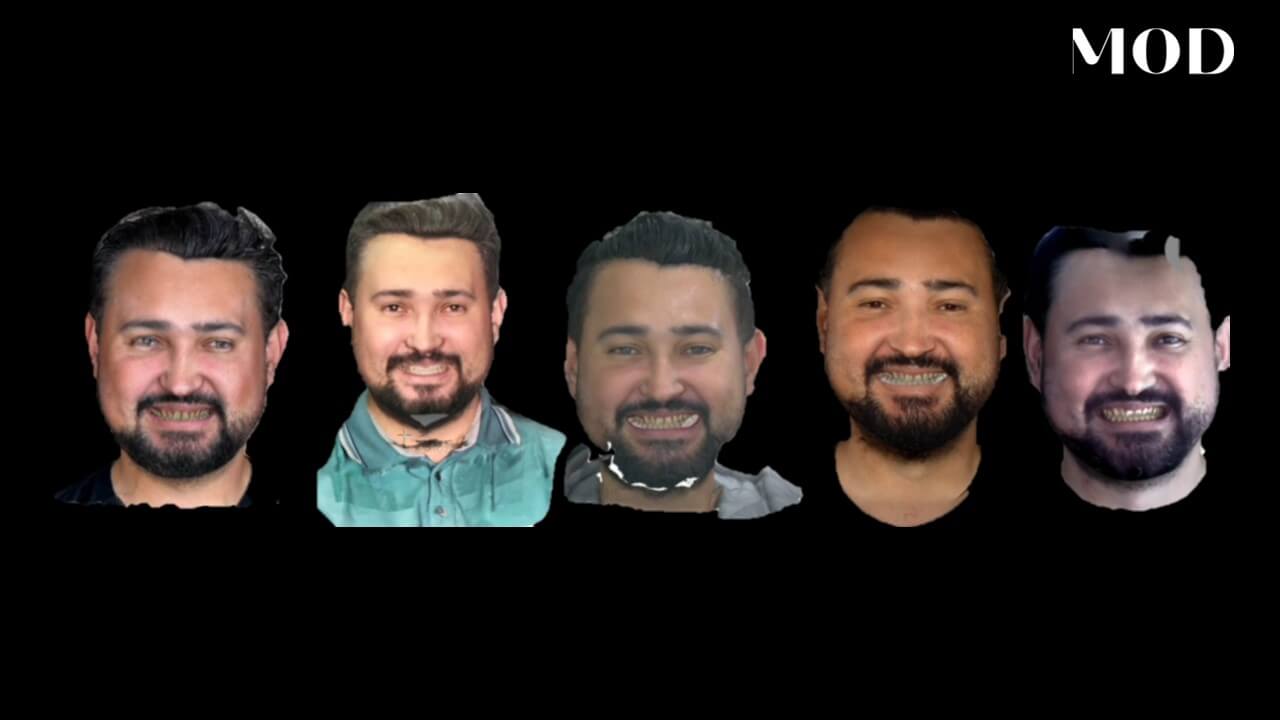
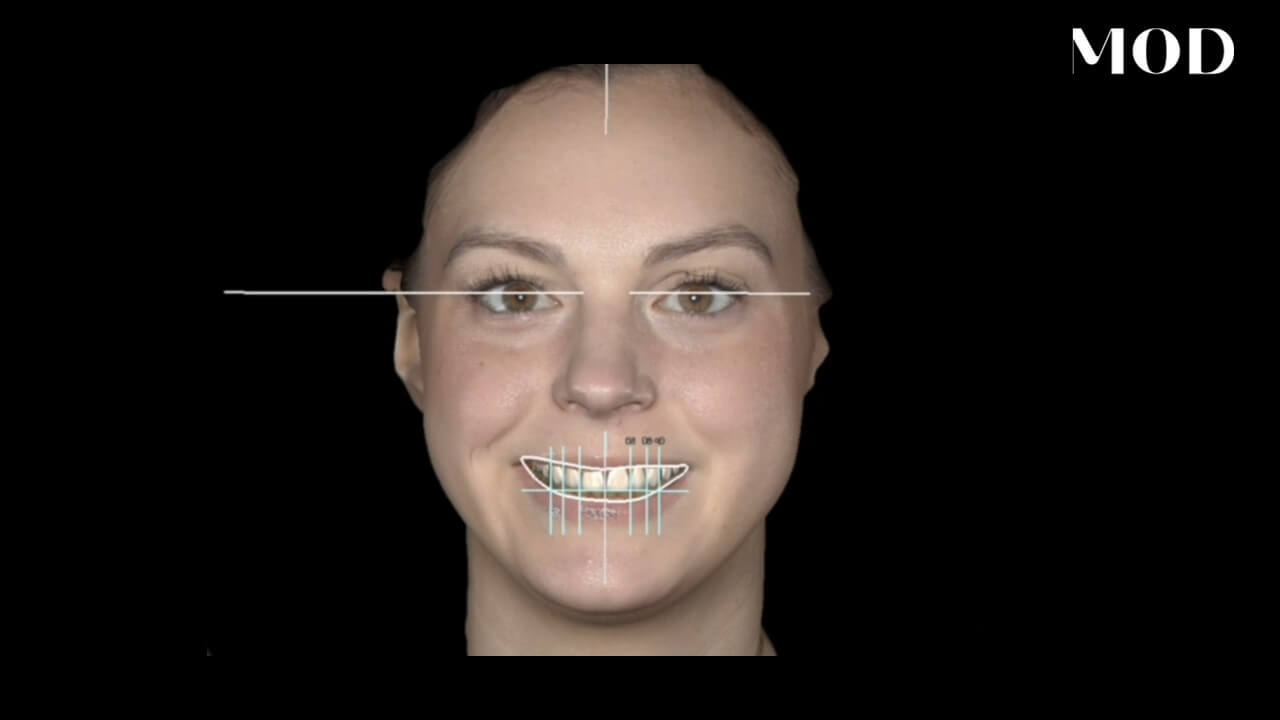
[72] And so after a quick realign of her old broken dentures, we're also gonna make a photograph of those dentures in place in the patient's face or, like I like to do, a face scan of the dentures in place. And typically, for this type of information to work, you wanna make sure that you're taking really good photos and really good face scans. So now how do we actually scan all this information into the software?
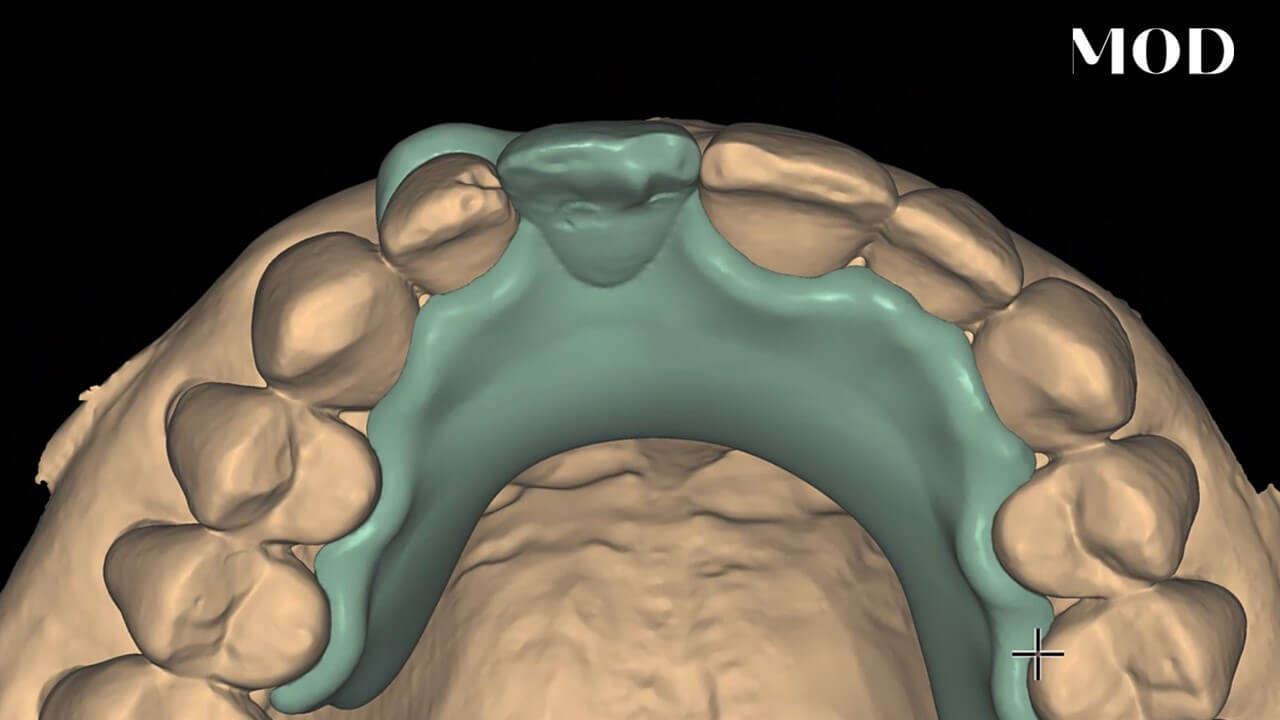
[98] If you're using the Shining Elite, you're gonna set this up as an upper and lower full denture case, and you're gonna put existing dentures as the record that you're gonna set up. If you look and we have this scene right here into exocad with the upper and lower dentitions perfectly aligned at the proper vertical, which are also aligned to the old dentures, you could imagine how we could use this to fabricate brand new dentures without having to go through the process of redoing record bases and wax trines and things like that, especially if you throw in a face scan and combine that with this data like we do.
## Detailed Scanning Steps
[124] So in the actual scanning software, the first thing that you're gonna do is scan the soft tissue, and that is the first step. And so here you could see I'm scanning the maxillary arch. And the way that I like to do this is with the AI off. I'm gonna go ahead and scan the maxillary arch. I wanna get all the attached tissues first. And anything that's movable like the buccal fold and the mucosal borders, I'm going to remove those by erasing those before I capture my border scan. So that's real-time right there. We've captured our existing hard tissues and our attached tissues of the maxillary arch.
[175] And I'm gonna go with the eraser tool, and I'm just going to erase all the way around the border to get rid of anything that I might accidentally scan that's movable. Because the rule with scanning edentulous arches is you wanna scan your movable tissues in as least amount of steps and passes as possible. So here, I'm starting at the hamular notch, and I'm going to work my way around to the midline. Now what happened was as I got to the midline, in this particular case, the patient's lip folded up over the edentulous arch because she has almost zero vestibule in the anterior, and this is not a problem.
[205] When you see something like that occur, try to break the arch into sextants where you're doing the posterior border, the anterior erasing the anterior soft tissue, movable tissues. And I'm gonna go back with the elite scanner now, and I'm just gonna pick up right where I left off on some attached tissues. And it's gonna immediately pick up the scan and allow me now to stitch back into the existing border.
## Finalizing the Scan
[230] Now sometimes you might get some folds or some little creases in the soft tissue where those two different scans were taken at a slightly different angle, where the tissues were moved at a slightly different rate. That is okay for the intensive purposes of designing a denture on this. As you'll see in the software, it's gonna be beautiful when we're all done with this. So now I'm going to my contralateral side with my all the way back to my hamular notch. I wanna capture fresh data starting at the hamular notch and then connecting all the way back to the midline and overlapping those scans.
[254] Retractors where the tissue is, basically stretched at a pretty aggressive retraction rate. The reason why is because I want to over-retract here because I could actually see the muscle fibers as they combine to the ridge when I'm doing the borders on my digital design. Check out some of my denture border videos on YouTube to learn about how I interpret this for my denture borders without border molding.
[295] You could see things like capillaries and muscle fibers and all the kind of stuff that you need. But look at this scan here. I got a beautiful complete scan, hamular notch to hamular notch with all my denture borders. I'm gonna go ahead and erase a little bit of that pterygomaxillary fissure area, and I'm gonna go ahead now and go on to my lower. Now for the lower, you need to have good retraction.
## Conclusion
[311] Check this out, guys. This scanner, just like a Lamborghini on the lower. We went from midline over to patient's retromolar pad, retromylohyoid fossa, and then back to midline, and then we stop. We switch grips on our retractors. We come over to the contralateral side, and I go from midline, back to contralateral hamular notch and into the retromylohyoid fossa.
[354] So as you can see here, we have retromylohyoid fossa at least two-thirds up the retromolar pad scanned. We have all of our borders properly scanned from both sides. This is super critical. If you're gonna fabricate a nice denture with a soft tissue scan, you have to have good scans, guys. And so, that was real-time. It's amazingly fast.
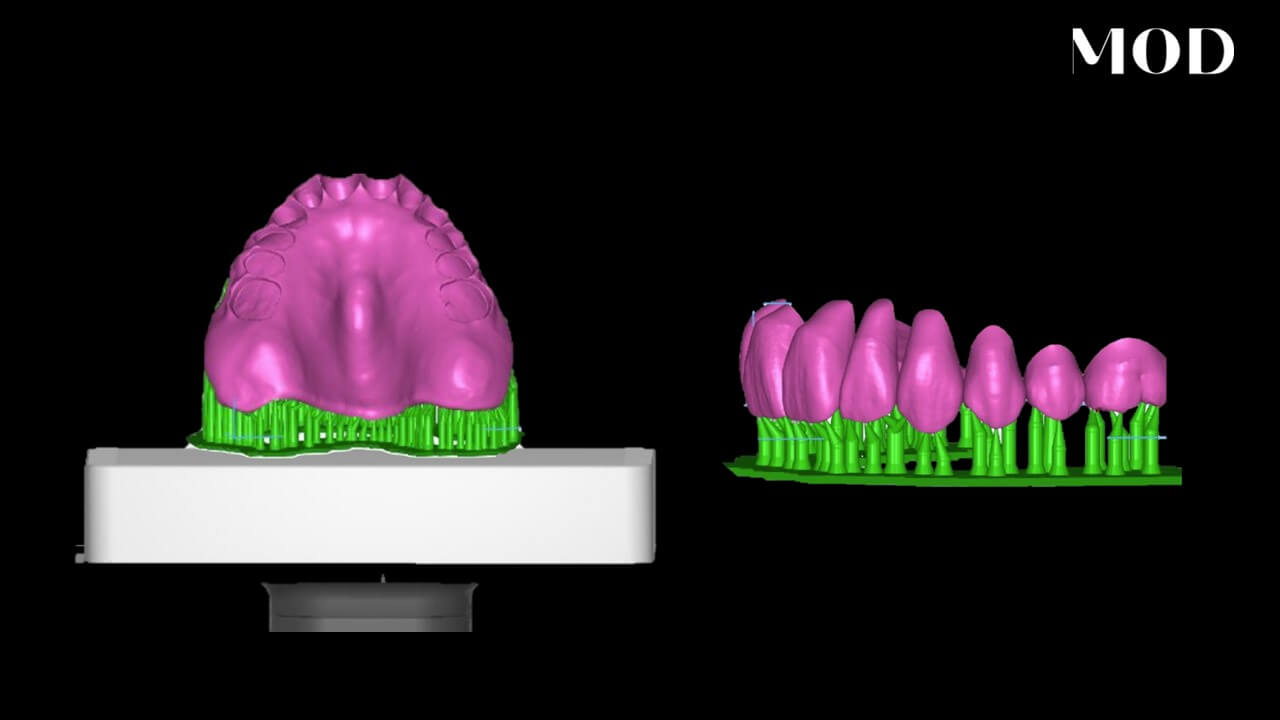
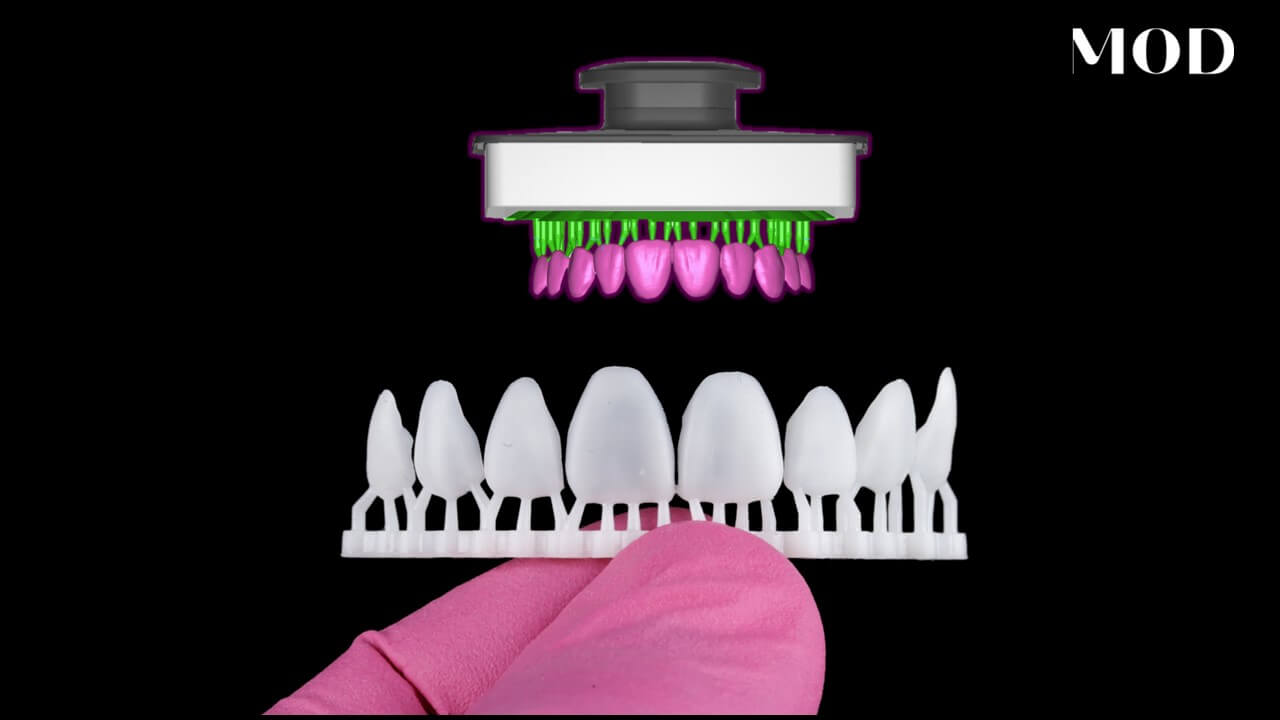
[373] Now the software is gonna prompt you to scan your dentures. I relined this denture. This was a broken denture, but I went ahead and flew some light body polyvinyl siloxane in there so that I could capture some more details. And as you're scanning, you wanna start on the fitting surface first, then get your borders, and then slowly transition to your buccal.
[402] Again, this is real-time and not sped up. This is the power of digital dentistry because what this software is going to automatically do is take your intraoral soft tissue scan that we made, and it's going to automatically align it to the denture base, which then will have the old pre-op broken denture superimposed onto this surface for when your lab technician or you do the design in any software. This is gonna be incredible information which could also be aligned to face scans and photos for fabricating a brand new denture.
[432] And so now you'll see the software is gonna clean up in any extraneous glove scans or finger scans. It's automatically gonna delete that. And then we're gonna go on and scan the lower. Same thing on the lower. Remember, the patient super glued her distal extension together on the lower, so it's all off. So I realigned that really quick with some light body polyvinyloxane.
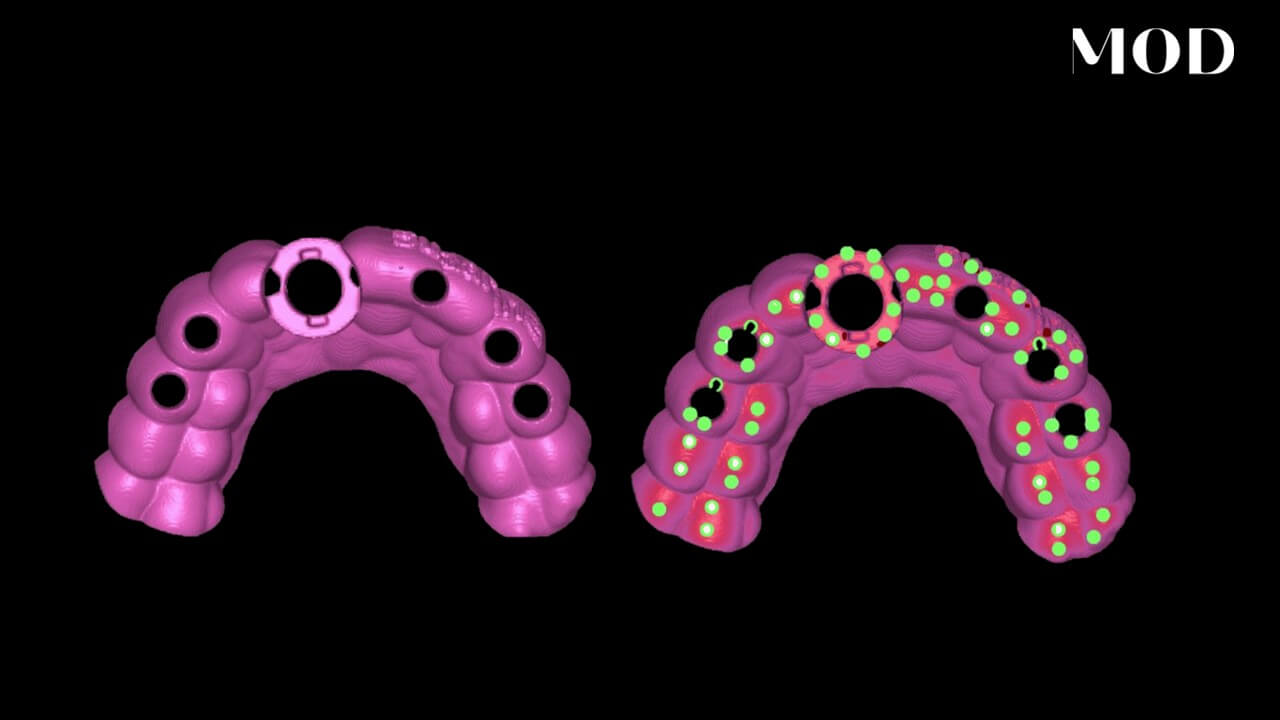
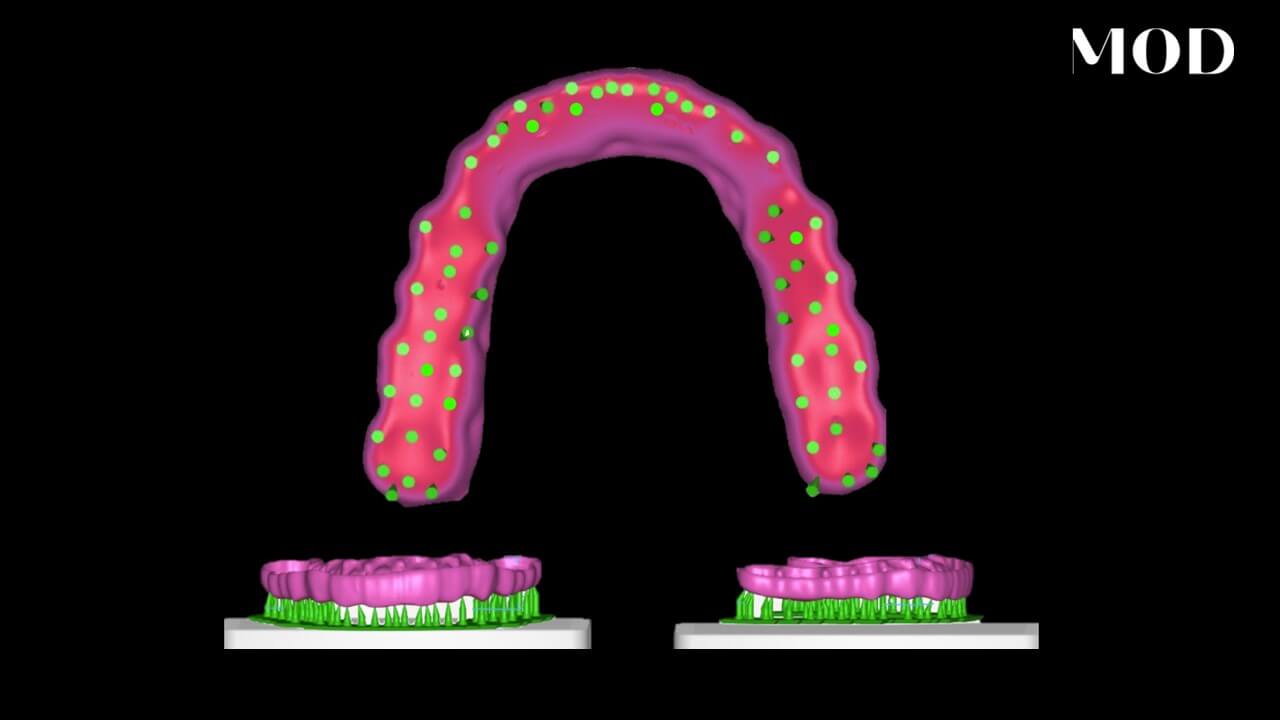
[455] But check this out. This is the alignment, the auto alignment between the intraoral scan of the soft tissue of the maxilla to the denture, and you have full control to be able to see the micron discrepancies. Here, we're averaging under 30 micron discrepancies between the scan of the denture and the scan that we made in the mouth, all perfectly aligned because of the AI algorithms that they have in here. It's incredible that you could do this and not have to pin it in exoCAD or after the fact and wonder if it was accurate.
[484] Now what's really nice about this, as you'll see, the trick of it all is how we capture the bite in the vertical. So we're onto the lower now. We're scanning that denture. Now lower dentures, you have to kinda hold them, so that you're not scanning mostly all your fingers. But look at this. I'm scanning my gloves in here, but watch at the end as the software automatically deletes any of the extraneous scan data from my fingers and all my gloves.
[511] So one of the things I will say when you do this, start on the fitting surface and slowly rotate to the buccal when you get your borders. It's really important that when you do this, that you have a pattern in mind when you start scanning a denture and that you don't just pick up the scanner and start randomly filling in holes. It should be about five overlapping confluence scans to get the whole entire thing starting with the fitting surface, then your borders, then your buccal occlusal, and lingual last. This is really predictable for any kind of denture that you might be scanning.
[550] So look at this. It's gonna clean up all the extraneous data automatically, and now I'm gonna capture the bite. So the dentures are gonna be back in the mouth for this, fully seated at centric relation maximum intercuspation, and you're gonna go ahead and scan bilateral bites or sometimes you could scan single bites. Here, I'm gonna scan bilateral bites.
[573] Notice I didn't even clean up any of the flash from the polyvinyl siloxane. That kind of extraneous information sometimes even helps the scanner track along the denture surfaces. It sees it as, like, little bumps and swiggles and lines, and it really helps the scanner track. So here we have the patient closing again. And, you know, the nice thing is this patient actually also complained about they didn't like the bite of their denture. This is not a big deal because what we really want to capture here is the vertical. We're gonna then take all of this information.
[595] It's instantly actually exported into, say, Exocad. The color files, the OBJ, or the ply are all exportable. And we're gonna take this and put it into Exocad and wax a brand new denture. And the only information we're gonna use from this old denture is the bite, the vertical, and also aligning it to the old denture photos and face scan.
[617] And so now I basically have everything that I need to completely restore this case. All of this information was captured in under thirty minutes on a Friday afternoon when this patient came in with two broken dentures. And I can't express to you how long this would have taken me in the past to try to figure out how to duplicate dentures and get all new borders. And, honestly, this is changing digital dentures.
[642] Intraoral scanners like this will fundamentally impact the efficiency of how you think about dentures. And combined with 3D printing, imagine being able now she's coming in next the next appointment available for me was on Monday. She's gonna have her dentures ready to go. So, basically, it is a quick turnaround time to do something that would normally take multiple, multiple visits and cost a lot of time share time.
[660] So I can't wait to show you how these turned out for this patient. Stay tuned for that. If you have any questions about the scanning process, hit me up. Let me know. Private message me. I'll get back to you because I do feel like this is something that you need to start implementing into your digital and removable workflows almost immediately.