PICK YOUR PASSION ⌄
Pick Your Passion
Digital dentistry is vast, and no two practices—or clinicians—are the same. Our “Passions” allow you to focus on the case types that inspire you most. Choose from topic-specific online or in-person education designed to sharpen targeted skills and elevate the work you want to be doing every day.
Foundations ⌄
Foundations
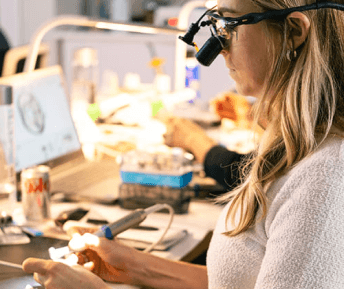
Build a strong foundation for your in-person learning experience at MOD. These immersive two-day courses blend research-driven instruction with guided design and hands-on characterization, giving you the essential tools and confidence to begin your digital dentistry journey.
mini-residences ⌄
Mini Residencies
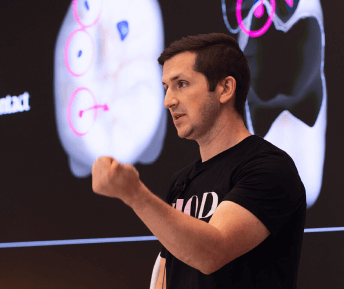
Our most comprehensive experience, these immersive five-day courses guide you through design, fabrication, and characterization using a complete records-to-delivery workflow with live patient demonstrations.
products ⌄
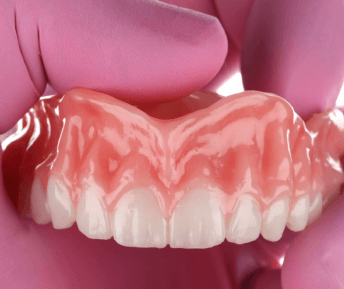
Products
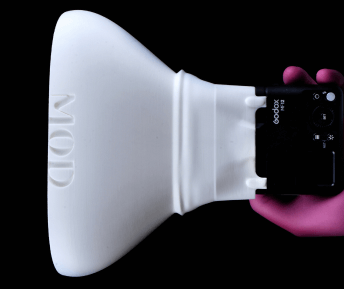
Developed by our expert team, MOD products and follow-along kits are rooted in research and built for real-world application. Each tool is thoughtfully designed to support predictable, efficient workflows and elevate the standard of care in your daily practice.
Kits & Resources
2026 symposium
MOD Restorative Studio


⌄
MOD Pro
MOD PRO is the ultimate educational ecosystem for you and your team. With unlimited access to all online courses, MOD Faculty Insights, Faculty AI, MOD Mastermind, and more, MOD PRO is designed to help you start, scale, and sustain excellence in digital dentistry. Get started now!
hello world!


